OpenHAB - SmartHome (223 posts)
05/08/2017
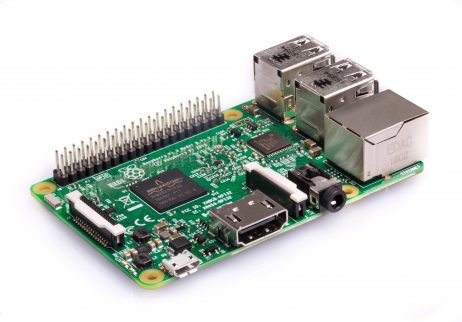
Home Automation System - OpenHAB 2 on Raspberry PI 3
by Marco Lamanna

My target is to install OpenHAB v.2 and all related services on my brand new Raspberry PI 3; reading the official documentation (http://docs.openhab.org/installation/openhabian.html), I discovered OpenHABianPI, a custom operating system based on Raspian Lite, but optimized for OpenHAB. So I flashed on SD-CARD, with Etcher, a complete pre-configured image, downloaded from https://github.com/openhab/openhabian/releases. Then I plugged the SD-Card in the Raspberry slot and power it up, after connected a LAN cable (there is also a procedure to connect the raspberry direct to WiFi...http://docs.openhab.org/installation/openhabian.html#wifi-setup). The setup of OpenHABianPI automatically starts during boot and you can follow it through SSH. In about ten minutes the system will be ready.
The first thing to do is run the openhabian-config tool, which will let us to setup the complete system.
sudo openhabian-config

01 - Update and 02 - Upgrade System will keep the system updated and you will run them frequently.
Then...
- 10 - Apply Improvements ==> run all the submenù
- 20 - Optional Components ==> 21 - Log Viewer, 22 - Mosquitto (the MQTT broker) and 23 - Grafana (not mandatory but it's a very nice dashboard tool)
- 30 - System config ==> all optional except 34 - Change Passwords which will secure your system; 37 - Move root to USB; is a very useful choice...it lets you to use an external USB Hard disk, instead of SD Card. I configured both my raspberries in this way, but I followed a manual procedure (see https://www.raspberrypi.org/forums/viewtopic.php?f=29&t=44177&hilit=usb+stick+operating+system)
- 40 - openHAB related ==> 43 - Reverse Proxy very useful option to expose OpenHAB system on the internet and access it from everywhere; it will configure NGINX as SSL reverse proxy - pay attention that with this option your system will be exposed to internet and so if not well secured could permit to everyone to take control of your home devices.
Ok, OpenHAB is ready to use. I suggest you to take a look at the official documentation, tutorials and forum on the OpenHAB website http://docs.openhab.org/https://community.openhab.org
The official youtube channel is https://www.youtube.com/channel/UC7OK88DW0La_BJlcXZg8ydQ/feed
Just another useful info: OpenHAB could use a lot of services to persist data; one of these services uses InfluxDB, a NOSQL database. It lets OpenHAB to store historical data series which could be displayed as charts or tables. Grafana, the open source dashboard tool, is perfectly integrated with InfluxDB. You could also use the standard MYSQL RDBMS as a persistence service. I will use InfluxDB, and so I will install it on the same raspberry as openHAB (see https://docs.influxdata.com/influxdb/v1.3/introduction/installation/)
Let's summarize my system:
- OpenHAB v 2.1
- Mosquitto MQTT Broker, with authentication
- Grafana
- InfluxDB, as OpenHAB persistence service
- Reverse proxySSL with authentication, through NGINX , to expose OpenHAB and Grafana on the internet, in a secure way
If you are not able to setup and mantain reverse proxy, NAT and port forwarding, you could use My OpenHAB service, which lets you to exposed on the internet a local OpenHAB installation; registration is required.
Ok, we are ready to use our Home Automation System
