FAQ - OpenHAB in a Nutshell

Video Answers to the most common questions about OpenHAB and related stuffs
work in progress...


1. Choosing runtime environment
Let's start with the design of our brand new Home Automation System, starting from the choice of the execution environment for OpenHAB. In this video I illustrate the different choices that OpenHAB offers, also indicating my personal advice, based on my experience.
2. First type of SETUP with OpenHABian
Here we are at the second video of the OpenHAB in a NUTSHELL series, the first truly operational video. I install OpenHABian on my Raspberry PI by flashing the image to the sd card.

3. OpenHAB installation on LINUX (deb)
Third video of the OpenHAB in a Nutshell series, about the installation of OpenHAB on the Linux operating system (Debian distribution or derivatives). After installing the Raspberry PI OS operating system and installing JAVA 17, using the APT package manager, I install the latest stable version of OpenHAB.
4. OpenHAB installation on Windows
Fourth video of the OpenHAB in a Nutshell series, relating to the installation of OpenHAB on the Windows operating system. After installing JAVA 17 I install the latest stable version of OpenHAB on Windows.
5. DOCKER CONTAINER and OPENHAB
Fifth video of the OpenHAB in a nutshell series in which I talk about installing OpenHAB as a DOCKER container, not before having installed DOCKER on the Linux operating system (in particular Raspberry PI OS) After a short introduction on what Docker is, let's see together step by step the installation of DOCKER ENGINE 32 bit on Raspberry PI OS. I then install OpenHAB 4.1.1 as a docker container, paying particular attention to the management of DOCKER Named Volumes and their importance for data persistence.
6. PORTAINER installation on Raspberry PI
Sixth video of the OpenHAB in a nutshell series: let's install Portainer on the Raspberry PI. Portainer is a web software that allows, through a simple UI, to simplify the management of Docker containers. I chose to install the free Community Edition. https://portainer.io
2. First type of SETUP with OpenHABian
Here we are at the second video of the OpenHAB in a NUTSHELL series, the first truly operational video. I install OpenHABian on my Raspberry PI by flashing the image to the sd card.
7. OpenHABian - Initial configuration (Part 1)
Seventh video of the OpenHAB in a nutshell series: initial configuration with OpenHABian config. After installing OpenHAB on Raspberry PI with OpenHABian, let's proceed with the initial configuration through UI and then move on to the configuration and optimization of the operating system using the OpenHABian-config tool, from system updates to the installation of services useful to OpenHAB such as Samba.
8. OpenHABian - Initial configuration completed (Part 2)
Eighth video of the OpenHAB in a nutshell series: we complete the initial configuration with OpenHABian config. After installing OpenHAB on Raspberry PI with OpenHABian and carrying out the first initial configuration steps, I complete the configuration with the last openhabian-config menu items.
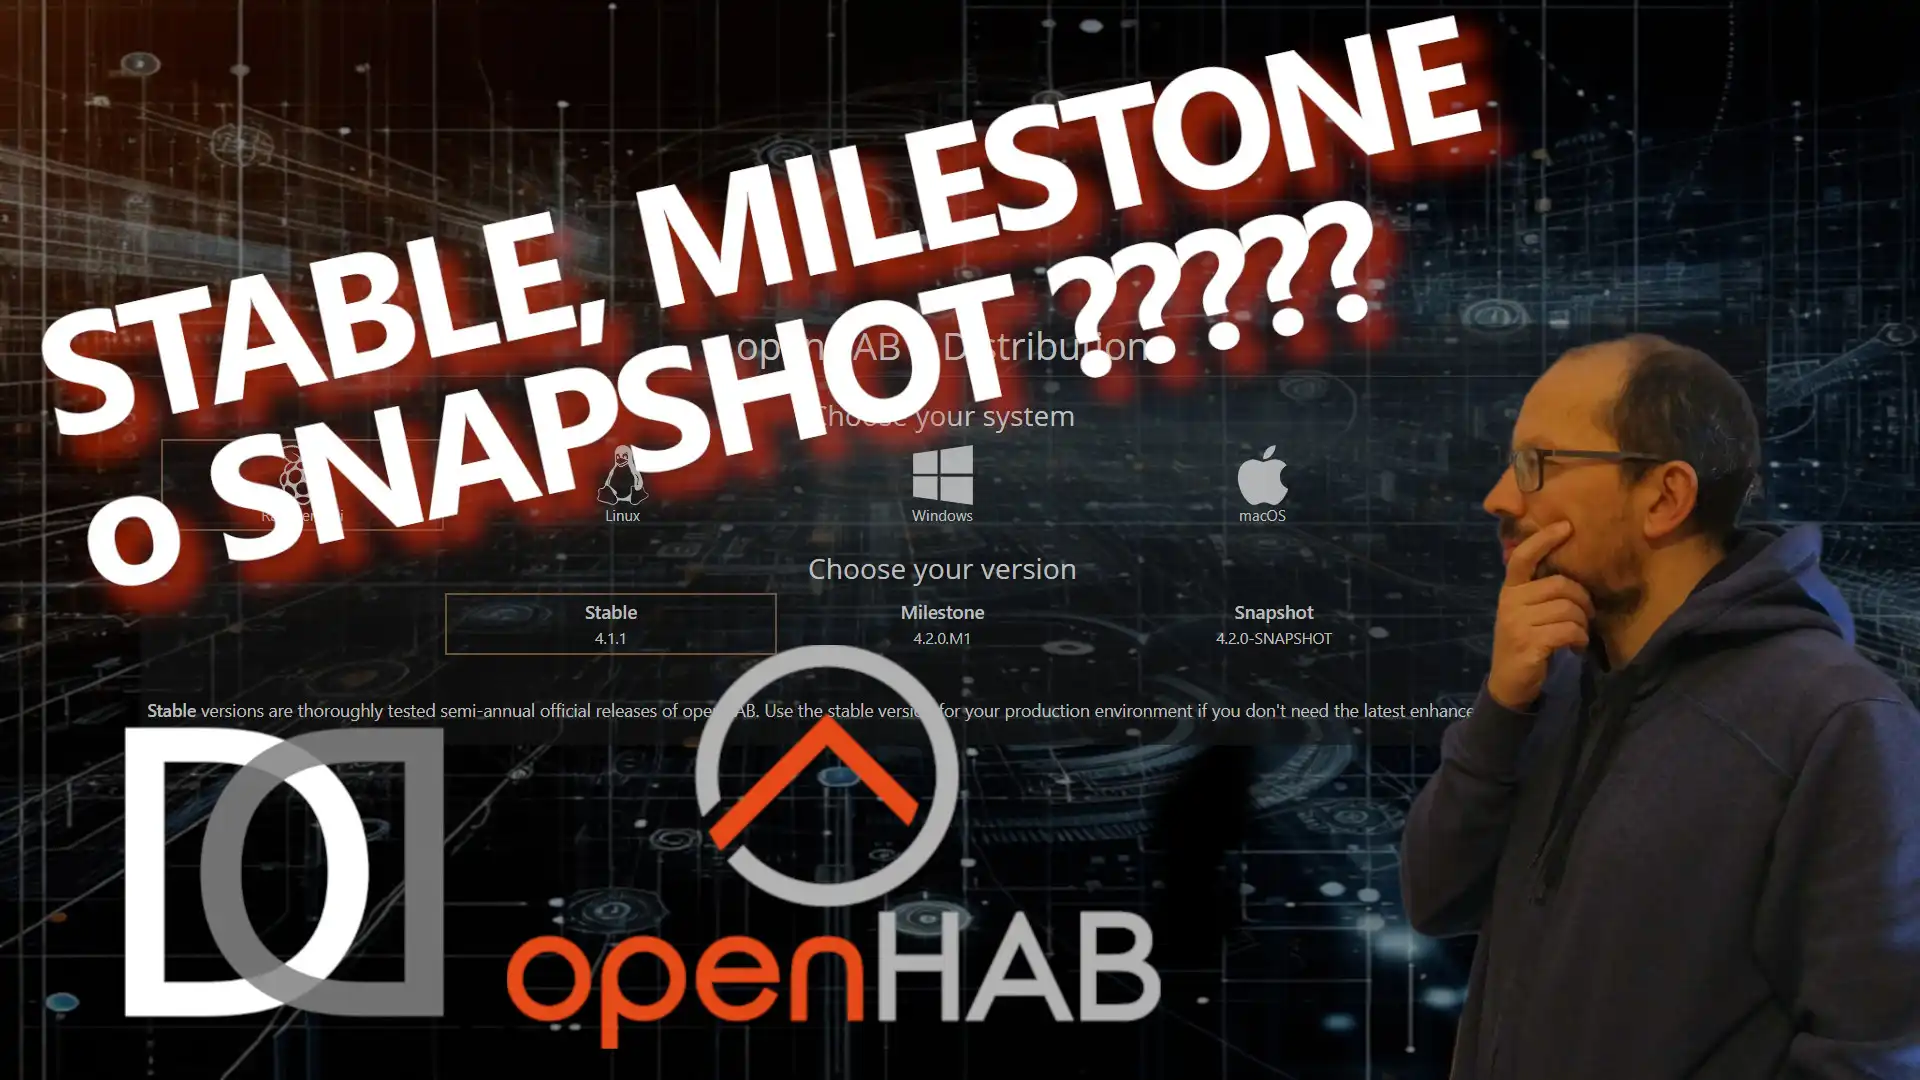
9. How to change OpenHAB version???
Ninth video of the OpenHAB in a nutshell series: let's see together how to change the type of OpenHAB version on an installation that has already been carried out.

10. Things, Channels, Items - Design theory
In this video from the OPENHAB in a NUTSHELL series we talk about the Smart Home design theory on OpenHAB, introducing the concepts of "real environment", through Things, Bindings and Channels and "virtual / functional environment", through Items and Links. Let's try to understand together how OpenHAB thinks and how we need to design and configure our devices to make it work best.
11. Design in practice with MAIN UI
In this video from the OPENHAB in a NUTSHELL series we move on to the practice of designing the Smart Home on OpenHAB, using the MAIN UI graphic interface. Let's transform the theoretical concepts we saw in the previous video into objects.
12. Design in practice with TEXT FILES
In this video from the OPENHAB in a NUTSHELL series let's see another way to design our Smart Home on OpenHAB, using the TEXT FILES. Let's install bindings and create things, channels, items and links using the text files placed into the OpenHAB configuration folders
13. Some considerations on design methods.
In this video from the OpenHAB in a Nutshell series, we talk about the advantages and disadvantages for the two design modes of OPENHAB: text file and graphical interface.
14. Tips & Tricks for designing using Main UI
In this new video from the OpenHAB in a Nutshell series, let's try some tips & tricks to make system configuration via graphical interface faster.
17. GROUPS - The basis of SEMANTIC modeling
In this new video of the OpenHAB in a nutshell series, I talk about the concept of group, the object that is the basis of semantic modeling. After a small theoretical introduction, let's see together a practical example of configuring a group, starting from its creation up to the management of its value.

18. TAGS - The basis of SEMANTIC modeling
In this new video of the OpenHAB in a Nutshell series, let's introduce another basic concept of semantic modeling: TAGS After seeing what tags are and what they can be used for in OpenHAB, let's look at some examples together.

19. The SEMANTIC MODEL - Theory
In this new video of the OpenHAB in a nutshell playlist, let's introduce the concept of SEMANTIC MODEL in OPENHAB. After having seen what groups and tags are, used as basic concepts of semantic modeling, let's talk about the semantic model on a theoretical level, trying to understand what it is and why it is important to use it.

20. The SEMANTIC MODEL - Starting from scratch
In this new video of the OpenHAB in a Nutshell series, let's see in practice how to do SEMANTIC modeling in OpenHAB, starting from scratch. Let's create Locations, Equipments, Points with Properties and see how OpenHAB automatically configures its Home Page, based on the implemented semantic model.
21. The SEMANTIC MODEL - Refactoring...
In this new video of the OpenHAB in a nutshell series, we always talk about SEMANTIC modeling from a practical point of view, going to do a Refactoring of an already existing non-semantic model. Let's transform the existing Items into Points and create the respective Equipments to insert into the model, within the Locations. Once finished, let's see how the dynamic home page has evolved accordingly.

15. Introduction to PERSISTENCE
In this new video from the OpenHAB in a Nutshell series, let's introduce the concept of data persistence. What is persistence, what is it used for and how to setup in OpenHAB

16. PERSISTENCE check and examples
In this new video of the OpenHAB in a nutshell series, we continue to talk about persistence by checking stored data and their display. Using API I'm able to read the stored values and create a "chart" page to display them as a time series
17. GROUPS - The basis of SEMANTIC modeling
In this new video of the OpenHAB in a nutshell series, I talk about the concept of group, the object that is the basis of semantic modeling. After a small theoretical introduction, let's see together a practical example of configuring a group, starting from its creation up to the management of its value.
18. TAGS - The basis of SEMANTIC modeling
In this new video of the OpenHAB in a Nutshell series, let's introduce another basic concept of semantic modeling: TAGS After seeing what tags are and what they can be used for in OpenHAB, let's look at some examples together.
19. The SEMANTIC MODEL - Theory
In this new video of the OpenHAB in a nutshell playlist, let's introduce the concept of SEMANTIC MODEL in OPENHAB. After having seen what groups and tags are, used as basic concepts of semantic modeling, let's talk about the semantic model on a theoretical level, trying to understand what it is and why it is important to use it.
20. The SEMANTIC MODEL - Starting from scratch
In this new video of the OpenHAB in a Nutshell series, let's see in practice how to do SEMANTIC modeling in OpenHAB, starting from scratch. Let's create Locations, Equipments, Points with Properties and see how OpenHAB automatically configures its Home Page, based on the implemented semantic model.
21. The SEMANTIC MODEL - Refactoring...
In this new video of the OpenHAB in a nutshell series, we always talk about SEMANTIC modeling from a practical point of view, going to do a Refactoring of an already existing non-semantic model. Let's transform the existing Items into Points and create the respective Equipments to insert into the model, within the Locations. Once finished, let's see how the dynamic home page has evolved accordingly.

22. Devices integration - Type of BINDINGS
New video of the "OPENHAB in a NUTSHELL" series. Let's talk about the integration of physical devices using Bindings. Let's see the different types of bindings

23. Devices integration - MQTT Protocol
New video of the "OPENHAB in a nutshell" series. We talk about the integration of physical devices using MQTT binding as an example of "horizontal" integration Let's do a couple of examples with two sensors of different nature and typology, using the same integration methodology.
24. Devices integration - XIAOMI Binding
New video of the "OPENHAB in a nutshell". We always talk about physical device integration, but this time we use a "vertical" binding dedicated to XIAOMI products. Let's try the integration of the MI Robot Vacuum, produced by Xiaomi, using the official binding "Xiaomi Wifi devices (Mi IO) Binding"
22. Devices integration - Type of BINDINGS
New video of the "OPENHAB in a NUTSHELL" series. Let's talk about the integration of physical devices using Bindings. Let's see the different types of bindings
23. Devices integration - MQTT Protocol
New video of the "OPENHAB in a nutshell" series. We talk about the integration of physical devices using MQTT binding as an example of "horizontal" integration Let's do a couple of examples with two sensors of different nature and typology, using the same integration methodology.
24. Devices integration - XIAOMI Binding
New video of the "OPENHAB in a nutshell". We always talk about physical device integration, but this time we use a "vertical" binding dedicated to XIAOMI products. Let's try the integration of the MI Robot Vacuum, produced by Xiaomi, using the official binding "Xiaomi Wifi devices (Mi IO) Binding"
23. Devices integration - MQTT Protocol
New video of the "OPENHAB in a nutshell" series. We talk about the integration of physical devices using MQTT binding as an example of "horizontal" integration Let's do a couple of examples with two sensors of different nature and typology, using the same integration methodology.

25. MQTT: What and Why
Let's begin a new miniseries within the OPENHAB in a Nutshell series , dedicated to the MQTT protocol, widely used in IoT systems for its technical characteristics that make it the ideal protocol in these areas. Let's start with an introduction to understand together what the MQTT protocol is and what its characteristics are.

26. MQTT: Installation of MOSQUITTO BROKER on WINDOWS
Let's continue the miniseries dedicated to MQTT, within the OpenHAB in a Nutshell series and see how to install the open source broker MOSQUITTO on Windows. Let's download the installation package from the official mosquitto website and install it on our Windows system. Then we run it with the default options and through MQTT Explorer and command line tools we perform connectivity and message sending/receiving tests.

27. MQTT: Installation of MOSQUITTO BROKER on OPENHABIAN / LINUX
New video of the OPENHAB in a NUTSHELL series. The miniseries dedicated to MQTT continues; this time let's see together how to install the Mosquitto MQTT broker on Openhabian with a standard Linux installation.

28. MQTT: Installation of MOSQUITTO BROKER as DOCKER CONTAINER
New video of the OPENHAB in a NUTSHELL series. Last mini chapter dedicated to the Mosquitto MQTT Broker; let's see together how to install the Mosquitto MQTT broker as a DOCKER CONTAINER, using PORTAINER.
29. User interface introduction
Let's resume the OpenHAB in a Nutshell series, addressing the topic of graphical interfaces from the end user's point of view. In this video I make a brief introduction on all the types of pages present in OpenHAB, with particular attention to the default home page, closely linked to the semantic modeling of the system
30. SITEMAP Part 1 - Everything you need to know
New video of the OpenHAB in a Nutshell series. Let's introduce the SITEMAP, the historical user interface of OpenHAB, describing its features and peculiarities that make it still useful for many use cases.
31. SITEMAP Part 2 - I'll reveal a gems to you: DYNAMIC VISIBILITY
In this new video of the OPENHAB in a NUTSHELL series let's continue the discussion on graphical interfaces and in particular we delve into advanced concepts for the creation of SITEMAPs. After the brief introduction of the previous chapter, let's see how to create a SITEMAP from scratch, using the configuration via text file, inserting some objects; I then introduce the management of dynamic visibility that allows you to make an object visible or hidden based on one or more conditions dependent on the state of the system.

32. SITEMAP Part 3 - I play with COLOR and ICONS thanks to dynamic properties
Another new video from the OPENHAB in a NUTSHELL series, progressing into dynamic configurations for SITEMAPs. Today I'm going to customize colors and icons for objects inserted into SITEMAPs. Using conditions based on the system state, I can decide to apply different colors to labels, values, and icons. It's also possible to use different icons for SITEMAP objects, based on their current state.
33. SITEMAP Part 4 - Many WIDGET to design your UI
New video of the OPENHAB in a NUTSHELL series. We continue to talk about SITEMAP, going into detail with targeted examples of the different types of objects that we can add to our SITEMAP. In this first part we see the most common and simple types; we will find the rest in the following videos
34. SITEMAP Part 5 - Easy buttons with BUTTONGRID
New video of the OPENHAB in a NUTSHELL series. Let's continue to talk about SITEMAP, inserting the BUTTONGRID object inside the pages. Through BUTTONGRID it is possible to manage one or more highly configurable buttons to control every aspect of OpenHAB. As the name itself says, through the BUTTONGRID object we can create a grid of buttons, assign icons, labels and colors and send commands to the OpenHAB items. It is also possible to obtain visual feedback on the current state of the item associated with the single button.
35. SITEMAP Part 6 - More WIDGETS for my pages
New video of the OPENHAB in a NUTSHELL series. Let's continue talking about SITEMAP and WIDGET that can be inserted into pages, making another roundup of examples related to some types of objects. In particular, today I will show you the SELECTION, SETPOINT, SLIDER, COLORPICKER and INPUT objects, both from the point of view of syntax and directly rendered on sitemap.
36. SITEMAP Part 7 - I make my interface MULTIMEDIA
New video of the OPENHAB in a NUTSHELL series. I conclude the overview of WIDGETS that can be inserted into a sitemap, with MULTIMEDIA type objects. In particular, let's see the syntax and examples of the WEBVIEW, MAPVIEW, IMAGE, VIDEO and CHART object types.

37. SITEMAP Part 8 - I install OPENHAB on ANDROID to use SITEMAPs
New video of the OPENHAB in a NUTSHELL series. After creating the first SITEMAP, I install the OPENHAB Mobile APP on an ANDROID smartphone. I perform the manual configuration to interface locally with my OPENHAB server and analyze the configuration settings. Worthy of note is the possibility of creating customized TILES to quickly and directly access OPENHAB functions directly from the ANDROID widgets

38. Remote Access using CLOUD - I can use my SMART HOME everywhere
New video of the OPENHAB in a NUTSHELL series. Let's talk about CLOUD and REMOTE ACCESS. I install the OPENHAB-CLOUD addon to allow my OPENHAB instance to be reachable even outside the local network. I can then control my SMART HOME wherever I am, as if I were connected directly to my home, using the MAIN UI via web interface, or the mobile app.

39. Level up your SMART HOME with maps - a step-by-step GUIDE
New video of the OPENHAB in a NUTSHELL series. Let's talk about graphical interfaces and, after having analyzed SITEMAPs in detail in the previous videos, today we will delve into the MAP type page, trying to exploit its full potential. In fact, with just a few clicks it is possible to create interactive and real-time updated geographic maps, using different types of markers linked to the status of OpenHAB items. It is also possible to select the provider of the type of map to display and add additional layers of information. The use cases for using this type of page are many: from the simple localization of people and vehicles to the visualization of the weather in different areas of the world.
40. Design your SMART HOME with FLOORPLANS - Complete guide
New video of the OPENHAB in a NUTSHELL series. Let's continue to talk about graphical interfaces and today let's see the FLOORPLAN page, very attractive from a graphical point of view and above all very functional. Using a background image that represents the floor plan of an apartment, a house plan or even a single room, it is possible to insert interactive placeholders that map the OPENHAB objects. In this way it is possible to have a direct view of the real position of the objects in the house.
41. TABBED PAGE - Organize your Smarthome efficiently - Complete guide
New video of the OPENHAB in a NUTSHELL series. Let's continue with the overview of OPENHAB page types. Today we are going to delve into TABBED PAGES which are a type of page that allows you to combine several other pages and display them in tabs. This allows you to organize different user interfaces in a single access point, offering a more structured and intuitive user experience, combined with simplicity of design. You can use any type of page as the content of the tabs, including Layout Pages, Maps, Floorplans, Charts and even other Tabbed Pages. This offers great flexibility in organizing user interfaces. The use of tabs makes navigation between different pages more intuitive and easy to use, especially for less experienced users, while the integration into other pages, such as Floorplan Pages offers quick access to detailed information about a certain element.
42. CHART PAGE Part 1 - Bring your SMARTHOME data to life with CHARTS!
New video of the OPENHAB in a NUTSHELL series. Another video and another type of OPENHAB page. We are talking about CHARTS PAGE, a type of page that allows us to create beautiful charts, to visualize the historical data of OPENHAB items. CHARTS Pages in OpenHAB offer an interactive way to visualize persistent data in the Main UI. These pages leverage the Apache ECharts library to create various types of charts, including time series, aggregates, heat maps and calendars.

43. CHART PAGE Part 2 - Let's make CHARTS better on OPENHAB
New video of the OPENHAB in a NUTSHELL series. Let's go deeper in the CHARTS PAGE, after having introduced the main features in the previous video. Let's see how to create aggregated charts to obtain values calculated according to the chosen unit of time, such as the daily average of photovoltaic production. I also introduce the CALENDAR coordinate type to display the aggregated data in a CALENDAR-style page, using the HEATMAP chart type as an example. Finally, I add to an existing graph all the secondary objects that OPENHAB makes available, to allow the user to zoom easily, change the chart type with a click and export the page as an image.
44. Introduction to LAYOUT PAGES , the ULTIMATE USER INTERFACE for OPENHAB
New video of the OPENHAB in a NUTSHELL series. Let's start with a general introduction to LAYOUT PAGES. Layout Pages are a versatile way to display information in the main openHAB user interface. They were introduced in openHAB 3 and offer extensive options to control the layout and can display Widgets from the built-in libraries or widgets you design or import from your personal library. There are two basic types of layouts: Responsive and Fixed Grid. Responsive layouts automatically adapt to the device screen and are recommended for most uses. Within Responsive layouts, you can choose between different types of arrangements, depending on whether you want to fully control the layout or let the container decide where to place widgets. Fixed Grid layouts allow you to create a layout page where elements have predefined positions and sizes. They are used to design a panel-like page for a specific screen size and are best suited for static interfaces such as wall-mounted tablets.
45. RESPONSIVE LAYOUT Part 1 - How to design a single UI for every device
New video of the OPENHAB in a NUTSHELL series. Let's start talking about RESPONSIVE interfaces - Let's see how to design a single graphical interface valid for all types of devices, using LAYOUT PAGES. RESPONSIVE layouts are the main type of layout in openHAB and are recommended for most uses. They automatically adapt to the device screen and can therefore be used as a general interface from all devices. Within RESPONSIVE Layouts you can choose between different types of arrangement, based on whether you want to completely control the layout or let the container decide where to place the widgets. In this first part we will delve into the RESPONSIVE layout with rows and columns, which allows "manual" control of the display.
46. RESPONSIVE LAYOUT Part 2 - Automatic arrangement of widgets
New video of the OPENHAB in a NUTSHELL series. Let's continue talking about RESPONSIVE interfaces. RESPONSIVE layouts are the main type of layout in openHAB and are recommended for most uses. They automatically adapt to the device screen and can therefore be used as a general interface from all devices. Within RESPONSIVE Layouts you can choose between different types of arrangement, depending on whether you want to completely control the layout or let the container decide where to place the widgets. In this second part we will delve into the behavior of WIDGETS added in the CELLS blocks and in the MASONRY block, which allow a completely automatic arrangment of the objects based on the device.
47. FIXED LAYOUT PAGES - The best UI for wall-mounted panel
New video of the OPENHAB in a NUTSHELL series. Let's continue talking about PAGE LAYOUT by focusing on FIXED LAYOUT pages. Fixed Layout Pages in openHAB are designed to provide precise control over the position and size of widgets within a page. This type of layout is particularly suitable for static interfaces, such as those used on wall-mounted tablets
48. UI PAGES Structure - COMPONENTS and WIDGETS
New video of the OPENHAB in a NUTSHELL series. In this video, let's explore in detail the structure of openHAB User Interface (UI) pages. We will see how UI components are composed, which are the basic building blocks for creating pages and widgets. We will also discuss the different types of widgets available, divided into libraries. A video that covers a mainly theoretical topic but that lays the foundation for building highly configurable user interfaces.
49. Customize Your OpenHAB UI: A Guide to Layouts and CSS
New video of the OPENHAB in a NUTSHELL series. In this video, we'll explore the structure of layout pages in OpenHAB and how you can customize them using CSS classes and variables, referring to Framework7. We'll learn how to: - Understand the organization of OpenHAB layout pages - Modify element styles by assigning CSS classes - Use CSS variables for more efficient style management - Create a custom user interface tailored to your needs If you're interested in improving the look and feel of your OpenHAB interface, this video is for you!

50. Manage Your Smart Home with Custom Widgets - Tutorial
New video of the OPENHAB in a NUTSHELL series. In this video we see how to make your user interface customized according to your tastes and goals. In this tutorial I show you step by step how to install widgets, insert them into pages, customize them and make the most of them to control every object of openhab.
51. Create your PERSONAL WIDGET for OPENHAB from scratch - Tutorial
New video of the OPENHAB in a NUTSHELL series. Have you ever wanted an openHAB widget that does exactly what you need? In this video I show you how to create your own custom widget from scratch, without any advanced programming knowledge. We'll start with the basics and see together how to define the look of the widget, how to connect it to your openHAB items and how to add interactive features. It doesn't matter if you're a beginner or an openHAB expert, this guide will walk you through the creation of your own custom widget. In this video you'll learn: How to create a new widget from scratch How to define the look of the widget (HTML, CSS) How to connect the widget to your openHAB items How to add interactive features And much more!

52. From LINUX updates to OpenHAB: system always at TOP
New video of the OPENHAB in a NUTSHELL series. In this video I show you how to keep your Linux operating system, on which OpenHAB is installed, always up to date and how to update OpenHAB to the latest stable version. By following these simple steps, you can ensure that your system is always secure and performant, and that you can take advantage of the latest OpenHAB features.
53. Update openHAB as DOCKER CONTAINER with PORTAINER and notes for WINDOWS
New video of the OPENHAB in a NUTSHELL series. In this video I show you how to update an OpenHAB instance running as a DOCKER container, using the Portainer web interface. We will also see the documentation regarding the update of an OpenHAB instance running on Windows. With these simple steps you can always keep your OpenHAB-based Smart Home system up to date
54. I used SHELL commands to update DOCKER CONTAINER
New video of the OPENHAB in a NUTSHELL series. In this video I upgrade OpenHAB from version 4.2.0 to version 4.3.3 using SHELL commands to update the running DOCKER container image. This process is applicable to all operating systems that docker can run on.
55. Protect your SMARTHOME, perform a complete OPENHAB BACKUP!
New video of the OPENHAB in a NUTSHELL series. If you use openHAB on openHABian, backup is essential. In this guide I will explain how to create a backup, to restore your system in a few minutes. Don't risk losing hours of work, watch the video and learn how to backup openHAB!

56. OpenHAB as Container DOCKER? Here's how to do a BACKUP correctly
New video of the OPENHAB in a NUTSHELL series. If you use openHAB on openHABian, backup is essential. In this guide I will explain how to create a backup, to restore your system in a few minutes. Don't risk losing hours of work, watch the video and learn how to backup openHAB!
57. How to restore a BACKUP on DOCKER containers...and not only
New video of the OPENHAB in a NUTSHELL series. OpenHAB on Docker: Let's RESTORE a BACKUP. In this video, I will show you how I restore OPENHAB on DOCKER containers. The procedure on DOCKER, compared to the standard one, is a bit more complex because you can only restore if the OpenHAB services are stopped.

58. My complete BACKUP script for OPENHAB 4 and INFLUXDB 2 on DOCKER
New video of the OPENHAB in a NUTSHELL series. Last video of the miniseries dedicated to the standard maintenance of OpenHAB. I show you my full backup script for a standard installation of OpenHAB on OpenHABian and for InfluxDB v. 2 running on docker container. This script is inspired by a script related to OpenHAB 3 that you can find at this link https://github.com/oliranks/openHAB3-full_backup_and_restore (thanks to the github user oliranks); I made some adaptations for OpenHAB 4 and for InfluxDB v. 2, on Docker container. You can find my script using the following link: https://github.com/domoticsduino/openhab4