DomoticsDuino by Marco Lamanna
Computer Engineer for Passion
When the limit is only the available time...
...hobby and work join in a single passion...
From my blogs...
OPENHAB 5: with the new SAMSUNG fridge I decided to update my SMARTTHINGS integration - VIDEO

Have you purchased a Samsung smart refrigerator and noticed that the SmartThings app only displays the set temperature and not the current one?
In this video we see how you can overcome this limitation... and much more...
Even though the official app doesn't display it directly on your phone, the SmartThings cloud computes the actual temperature.
Using the official SmartThings APIs, I'll show you how I'm planning to develop a custom Python bridge to send this data via MQTT directly to our beloved openHAB (or possibly other systems that understand the MQTT protocol).
This approach is similar to the one we've already seen for the SwitchBot integration: Watch the SwitchBot video here.
Enjoy your viewing
OPENHAB in a NUTSHELL: 64. CONSOLE - Log Management - VIDEO

Logs are openHAB's logbook, and knowing how to read them correctly is key to solving any problem.
In this video, we explore how to master the logging system directly from the Karaf console.
What you'll find in the video:
- Real-time monitoring: How to use log:tail to see what's happening in the system as it happens.
- Intelligent filtering: Using the component filter to isolate only the messages you're interested in.
- The Level Hierarchy: How to manage log levels with the log:set command.
Enjoy your viewing
OPENHAB in a NUTSHELL: 63. CONSOLE - The OPENHAB Engine - Bundles and Features (Karaf) - VIDEO

In this episode, we explore openHAB's 'Modulith' architecture.
We'll discover how Apache Karaf, the engine that runs the system, manages individual components called Bundles.
In this video, we'll delve into:
- Bundle Anatomy: How to list all installed modules with bundle:list and how to identify the technical symbolic names needed for logging and configuration.
- Surgical Control: We'll see how to resolve binding issues by restarting only the affected module with the stop and start commands without restarting the entire system.
- The Secret of Features: We'll explain what features are and how to manage them; in particular, we'll understand why the bundle:uninstall command often doesn't work correctly. You'll discover the role of Features and how these software "recipes" keep your add-ons intact.
Enjoy your viewing
OPENHAB in a NUTSHELL: 62. CONSOLE - We manage ITEMS, THINGS and LINKS using KARAF CONSOLE - VIDEO

In this video, we delve into the heart of openHAB's operational control.
While the Main UI is convenient for everyday use, the Karaf console is where the real power for administration and debugging lies. Together, we'll explore Runtime Commands to interact directly with the core components of your home automation system.
What we'll cover in this video:
- Item Management: how to query the real-time status with smarthome:status, the crucial differences between send (to activate hardware) and update (for internal logical updates), and how to filter hundreds of objects with items list.
- Thing Control: monitoring the status of bridges and physical devices using the things list command.
- Link Control and Maintenance: a look at how to manage connections between channels and items and how to clean up orphaned links from the system.
Warning: Some of these commands act directly on the internal database (JsonDB) and could compromise the installation if used incorrectly.
Enjoy your viewing

OPENHAB in a NUTSHELL: 61. DOCKER and the CONSOLE - Easy access even without the openhab-cli command - VIDEO

In this video, we'll explore a very common use case: connecting to the openHAB console running as a Docker container. Although the system runs in an isolated container, we still need access to the Apache Karaf console for advanced administration tasks.
In the Docker container, openHAB doesn't provide the openhab-cli command, the native way to connect to the Karaf console. Don't worry, in this video, we'll look at several alternative ways to achieve the same result.
We'll look in detail at:
- Direct Access: how to access the console from the Docker host without SSH, using the docker exec command to invoke the internal runtime client.
- Connecting via SSH: how to configure the container to expose port 8101 and connect remotely as if it were a standard installation.
- Network Configuration: the steps required in the runtime.cfg file to enable the console to accept external connections.
Whether you're an experienced user or a Docker newbie, this guide will give you full control over your bundles and system logs directly from the terminal.
Enjoy your viewing

OPENHAB in a NUTSHELL: 60. The Console - From Theory to Practice - Access, Cheats, and Runtime Commands - VIDEO

In this second video of the mini-series dedicated to the openHAB console, we move from theory to practice by stepping directly into openHAB's "engine room": the Apache Karaf console.
In this video, we will cover:
- How to access the console: we will discover the different connection methods, from using the openhab-cli console command on Linux systems to accessing via SSH on port 8101 with the default credentials
openhab:habopen. We will also see how to access remotely by modifying the openHAB configuration. - Navigation and shortcuts: I will show you how to use the TAB key for auto-completion and how to filter results that are too long using the "pipe" and the grep command.
- System monitoring: we will see how to use the ttop tool to identify which process is consuming too much CPU.
- Command categories: I will show you the main command categories provided by the console.
The console is a powerful tool that allows you to diagnose and control openHAB much more deeply than the standard graphical interface.
Enjoy your viewing
OPENHAB in a NUTSHELL: 59. The Console - Enter the Engine Room! An Introduction to Apache Karaf - VIDEO

In this video, we begin a mini-series dedicated to Apache Karaf, the invisible "engine" that makes openHAB so modular and powerful.
If you've always thought of the console as something complicated or reserved for experts, this mini-series will change your mind.
Many use openHAB every day, but few know what really happens "under the hood." In this primarily theoretical video, we'll try to understand how the beating heart of our system works: Apache Karaf.
Why is it important to understand the theory? Because without understanding how openHAB manages modules (bundles) and services, it's difficult to troubleshoot when things get complicated.
In this video, we'll explore:
- What is Apache Karaf: The OSGi container that holds openHAB together.
- Modularity: How openHAB can load and unload bindings without ever rebooting.
- The role of the Console: Why it exists and why it's the direct link to the software "engine."
- Stability and Security: How Karaf protects the system from individual component crashes.
This is the foundation needed for the next videos, where we'll finally begin accessing the console and launching the first practical commands!
Enjoy your viewing
OpenHAB 5: XIAOMI Cloud Login Error? Here's how to fix it (Bypass) - VIDEO

Are you experiencing login or connection errors with Xiaomi Miio binding on openHAB?
In this video I show you how I solved the problem by completely bypassing communication with the Xiaomi Cloud.
Many do not know that, once the device token is obtained, the connection to the Xiaomi servers often becomes superfluous.
I'll explain why I decided to remove the login credentials from the binding and how I did it; it was not trivial, because the MAIN UI in this case was not helpful
Enjoy your viewing
OpenHAB 5 & Matter: Goodbye Cloud! SwitchBot Lock Pro and Hub Mini Integration - VIDEO

In this video, we finally see the openHAB 5 Matter Client in action!
After exploring the Matter Bridge, today we're doing the reverse: integrating Matter-compatible devices directly into openHAB for 100% local, fast control without relying on Cloud APIs.
We'll use the SwitchBot Hub Mini as a Matter node to expose the Smart Lock Pro. I'll show you the entire setup process, using a modern approach based on the new openHAB 5 YAML files, which allow you to define Thing and Item in one place.
What you'll learn in this video:
- Configuring Matter Binding and creating the Matter Controller.
- Pairing the SwitchBot Hub Mini via the official app and inserting the code into openHAB.
- Automatically detecting the Smart Lock Pro as a "Secondary Device".
- YAML configuration to manage channels.
Unfortunately, I wasn't able to completely disable my SwitchBot2MQTT tool (https://github.com/domoticsduino/switchbot-api2mqtt) because the battery status isn't managed by the MATTER protocol.
Enjoy your viewing

OpenHAB and GOOGLE AI: Integrating Gemini AI into OpenHAB: Complete Guide with AI2MQTT! - VIDEO

In this video, we'll show you how to take the ultimate leap in home automation!
I'll show you how to integrate Gemini AI (Google's artificial intelligence) into OpenHAB using my open-source AI2MQTT service https://github.com/domoticsduino/ai2mqtt
Thanks to this integration, you can query the AI directly from your switches or sensors and receive real-time, processed responses in your control panel.
In this video, you'll see:
- How to create rules in OpenHAB to send prompts to Gemini.
- CHow to manage response reception via MQTT.
- Configuring items and the Sitemap/MainUI to display AI-generated text.
- Testing a call
Enjoy your viewing
OpenHAB 5: I installed the 5.1 update - I BROKE EVERYTHING but then I fixed it! - VIDEO

Three weeks after the release of openHAB 5.1, I finally decided to upgrade.
Unfortunately, I didn't read the Release Notes and missed the "Breaking Changes" section.
Result: Upon reboot, many of my entries were invalid...persistence configuration issue.
In the video, I'll show you how I identified the problem and how I solved it.
Enjoy your viewing

OpenHAB and AI: Full Gemini Integration with AI2MQTT Script and MQTT Protocol - VIDEO

In this video, I introduce my AI2MQTT script, a key step in integrating Gemini AI into smart home systems like OpenHAB.
AI2MQTT is a Python script (available on my GitHub repository https://github.com/domoticsduino/ai2mqtt) that acts as a bridge between home automation systems and the Gemini APIs.
The script was designed to allow systems like OpenHAB, which may not have the technical capability to integrate directly with AI APIs, to leverage their power via the MQTT protocol, an efficient protocol widely used in home automation.
- Sending the Request: OpenHAB (or any external system) sends prompt requests to Gemini on a specific MQTT topic.
- Generic: The script remains generic because it doesn't have the prompt hardwired into it, but receives it via the MQTT payload.
- JSON Schema: The prompt request must include a JSON schema. This is crucial because the AI must return a schematic response rather than merely textual, making the data easily interpretable and usable by OpenHAB.
- Receiving the Response: Once the response is received from the Gemini 2.5 flash model, the script publishes it to a dedicated MQTT response topic, which is personalized with an identifier ('track') to separate responses to different requests.
In the video, I demonstrate installing and running the script using Docker Compose on a Raspberry Pi, and a practical test requesting a weather forecast for New York City, demonstrating the correct functioning of the AI2MQTT bridge.
Enjoy your viewing

OpenHAB and AI: I connected Gemini to OpenHAB with Python and MQTT - VIDEO
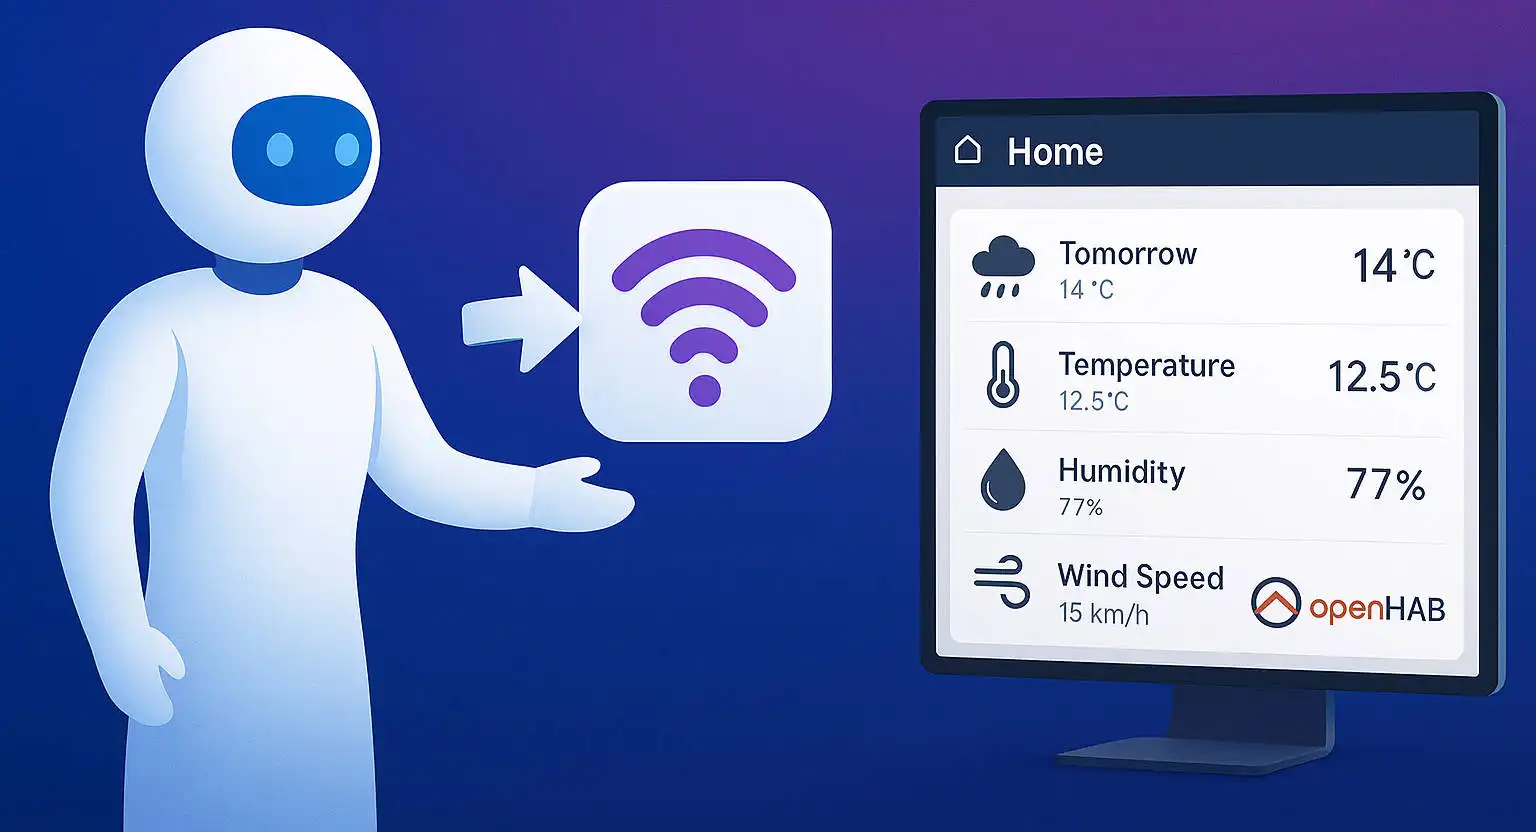
In this video, I show you how to use the Gemini APIs via a Python script to obtain dynamic information and send it via MQTT to OpenHAB, then display it correctly on a sitemap.
Starting with a Python script, we'll:
- Query the Gemini APIs
- Process the responses
- Publish the data to an MQTT broker
- Receive it in OpenHAB
- Display it on a custom sitemap
A practical and comprehensive example for those who want to experiment with AI in their smart home!
This approach is ideal for creating assistants, information panels, intelligent automations, and much more.
Enjoy your viewing
OpenHAB and AI: how to Integrate the Gemini API into openHAB - The Secret to JSON Responses - VIDEO

Integrating advanced AI like Gemini into home automation systems (like OpenHAB) opens up incredible possibilities.
However, there's a fundamental obstacle: most AIs respond with free, descriptive text, which is difficult for an automation system that requires precise commands to interpret.
In this first part of our project, we're revealing the technical solution: forcing Gemini to return structured, defined JSON.
Enjoy your viewing

OPENHAB 5: complete monitoring of the matter bridge status (items, rules, and notifications) - VIDEO

Home automation is great as long as it works. But what happens when that crucial component that manages communication with your Matter devices—the Matter Bridge—decides to act up or go offline?
Often, we only notice when a command isn't executed, and it's too late.
In this video, I'll show you how to implement a Matter Bridge monitoring system using the power of openHAB Items and Rules, ensuring immediate notifications in case of problems.
All integrated into an alarm system that also monitors other aspects of the system.
Enjoy your viewing

OPENHAB 5: Never lose the status of your Matter Bridge again! | Automatic notifications with OpenHAB - VIDEO

Have you ever lost data or noticed your Matter devices becoming unresponsive, only to later discover that openHAB's Matter Bridge was down?
It happens. But with a simple rule, you can make your system incredibly more reliable.
In my latest video, I show you step-by-step how to create a rule in OpenHAB 5 that sends you an immediate notification whenever the Matter Bridge status changes (for example, from running to stopped).
Enjoy your viewing