My Learjet 45 Home Cockpit (63 posts)
19/03/2023
Managing HOME COCKPIT buttons with MOBIFLIGHT and ARDUINO [Versione in italiano]
by Marco Lamanna
Anyone who has followed the construction of my Home Cockpit in the past years knows that I used a standard keyboard circuit to interface the simulator buttons.
I talked about it (many years ago!) in this post /en/blog/learjet-45-home-cockpit/post/2012/02/handmade-input-interface.html
The idea was very interesting and really low cost...by disassembling a simple keyboard and putting a lot of patience in soldering all the contacts it was possible to create an input interface to be able to manage all the buttons in a very simple and low-cost way.
Unfortunately a few months ago, during the recovery phases of my Home Cockpit, due to some wrong connection, I managed to burn two keyboards.
So I started thinking about some other alternatives (also because I had run out of keyboards!) and I came across the fantastic MOBIFLIGHT.

In few words, MOBIFLIGHT by Sebastian Möbius is an Open Source project that allows the integration of standard hardware with your flight simulator.
Using for example the famous ARDUINO microcontroller, it is possible to manage INPUT (buttons, potentiometers, ...) and OUTPUT (led, lcd, servos, ...) of the simulator.
There is an excellent Wiki on the official GitHub page that allows you to learn more about the potential of this project: https://github.com/MobiFlight/MobiFlight-Connector/wiki
he official Youtube channel of the project is also a great source of information and support: https://www.youtube.com/@MobiFlight

After reading the documentation and watching some tutorials on Youtube, I decided that MOBIFLIGHT could be for me.
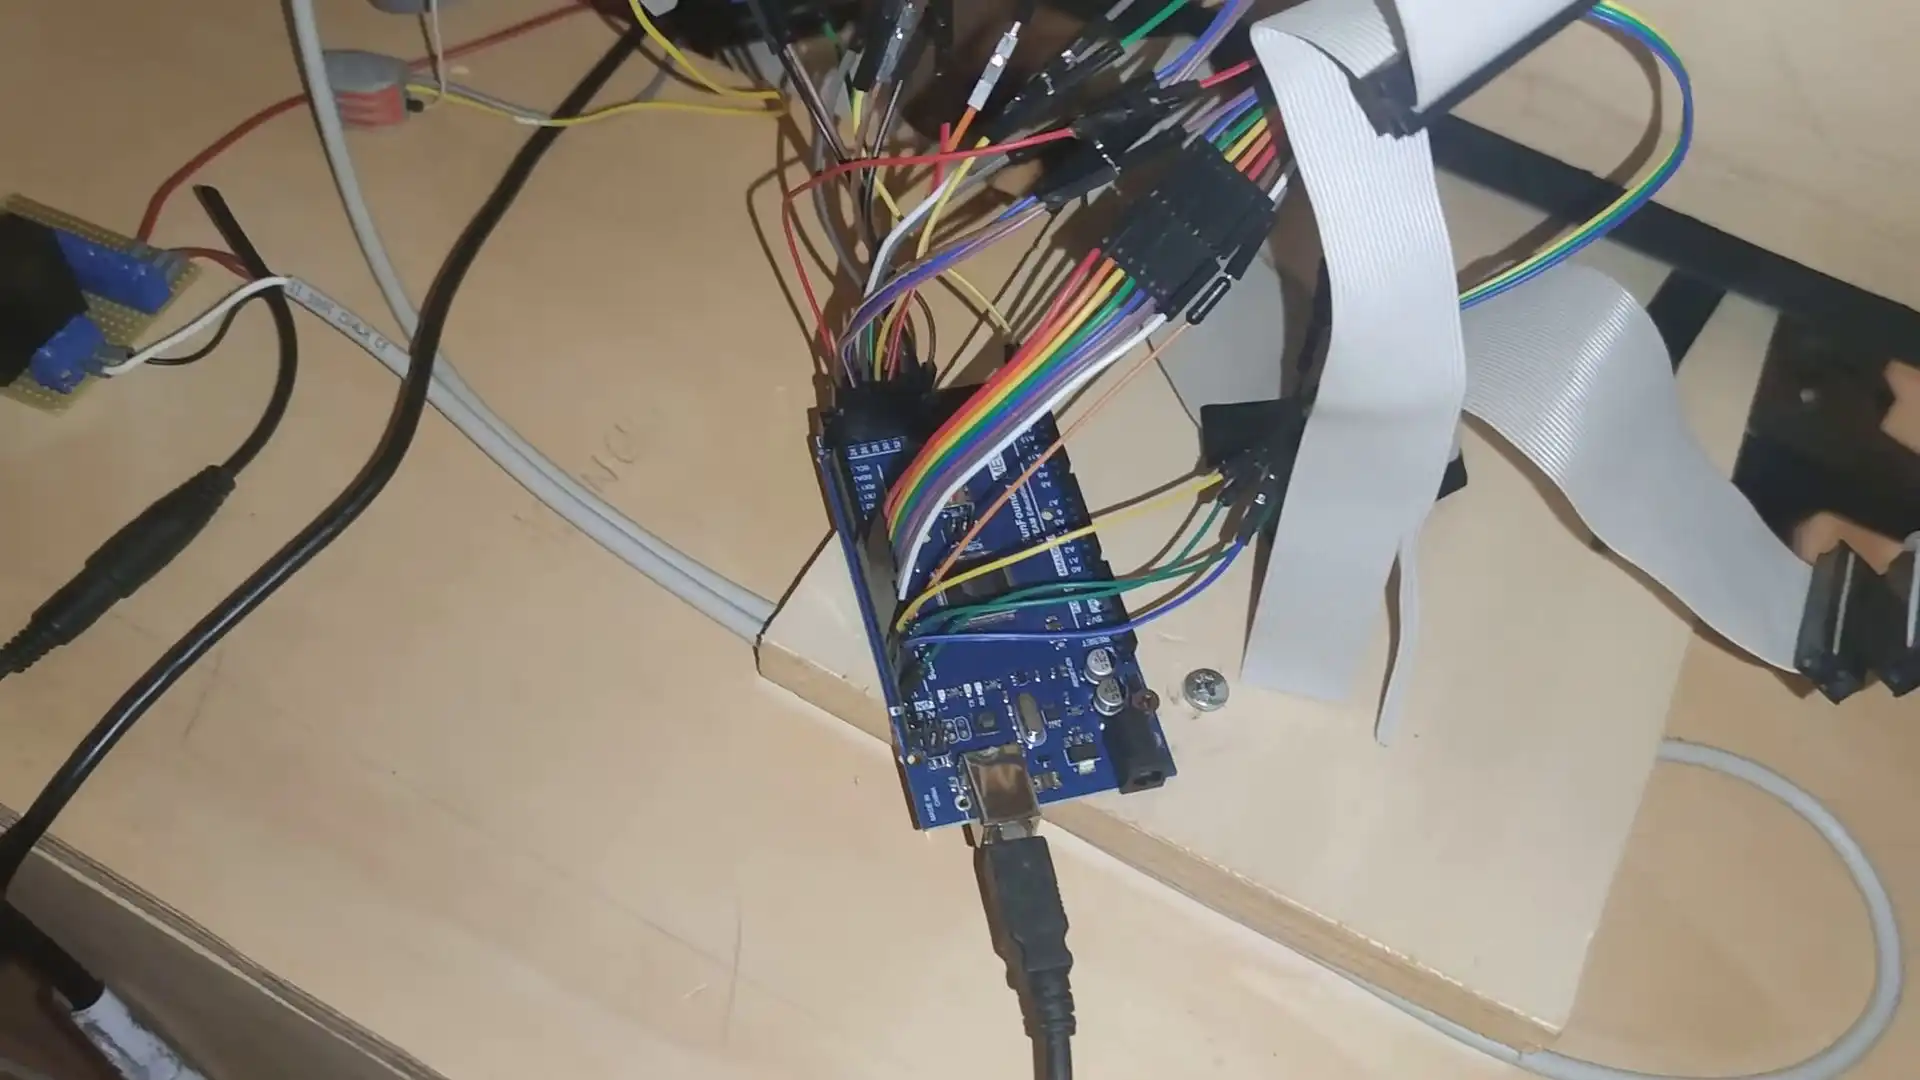
Fortunately at home I had some unused ARDUINO UNO boards (thanks to my home automation experiments) and so I decided to give it a try, even if that particular type of board (ARDUINO UNO) is not in the list of officially supported ones (https://www.mobiflight.com/en/documentation/module.html).
So I create a very simple test case: a button connected to the ARDUINO UNO pins which triggers a "virtual" event towards MOBIFLIGHT.
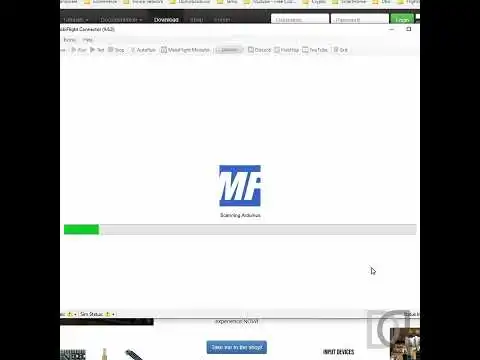
So let's start with the download and installation of MOBIFLIGHT CONNECTOR, a software for Windows that allows connection with the simulator and complete configuration management.
When first started, MOBIFLIGHT CONNECTOR scans the system for connected ARDUINO boards. In my case, even if not officially supported, my ARDUINO UNO is immediately found; I'm also prompted to install the MOBIFLIGHT firmware inside, which I do immediately.
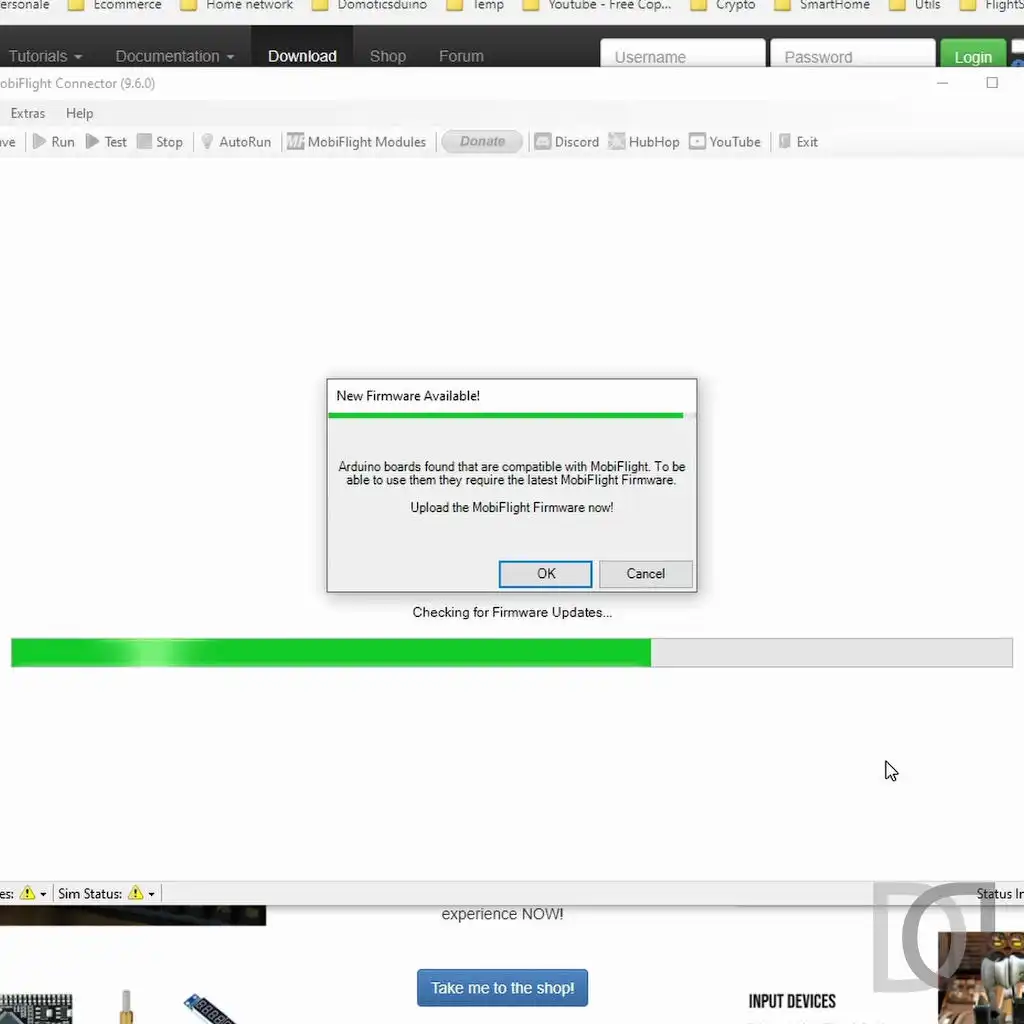
The firmware is a particular software that is installed on microcontrollers to instruct them on how to manage INPUT and OUTPUT connected to them.
In this case, the MOBIFLIGHT firmware is part of the project and is necessary to allow the ARDUINO board to understand how it has to manage the various devices connected to it. This operation is done only the first time a new ARDUINOboard is used. If firmware updates are published, the system will ask us whether or not we want to perform the update.
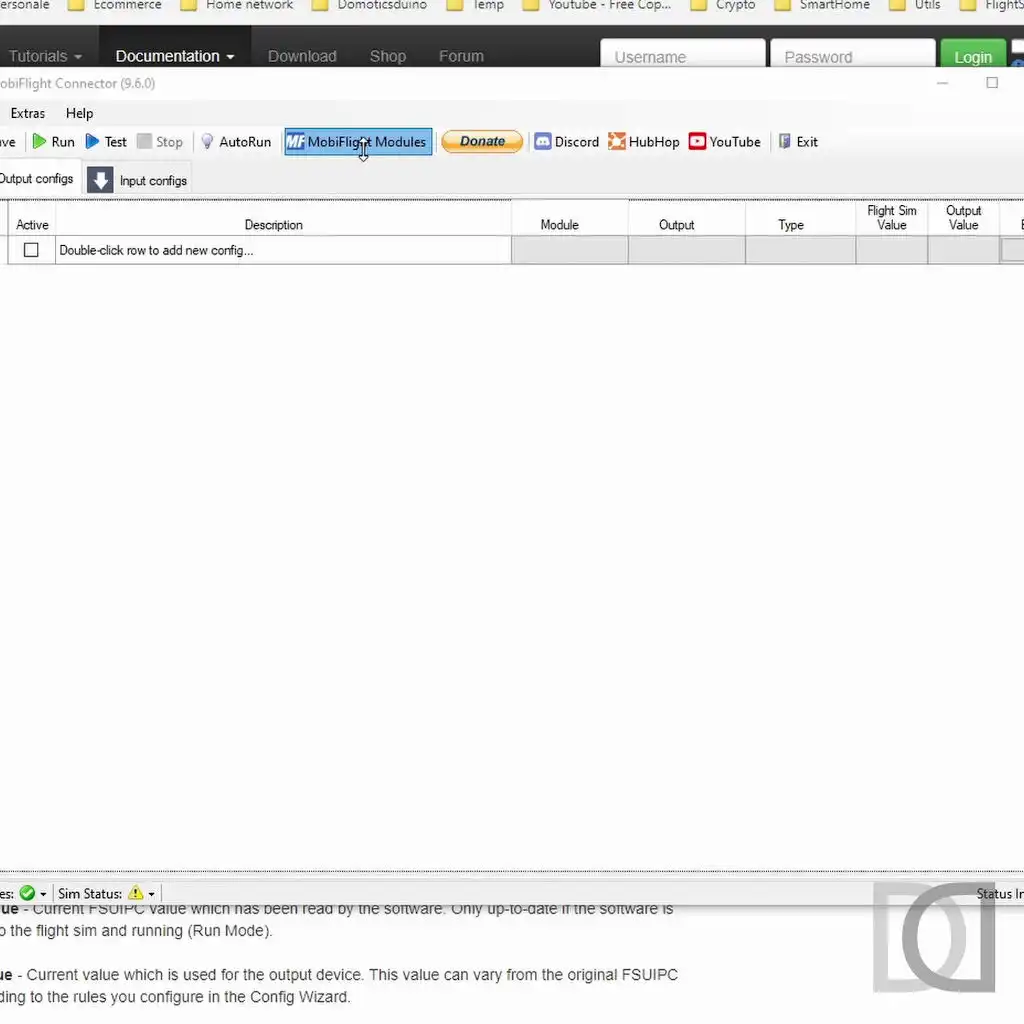
With the firmware installed, ARDUINO is immediately recognized as a MOBIFLIGHT Module to be configured.
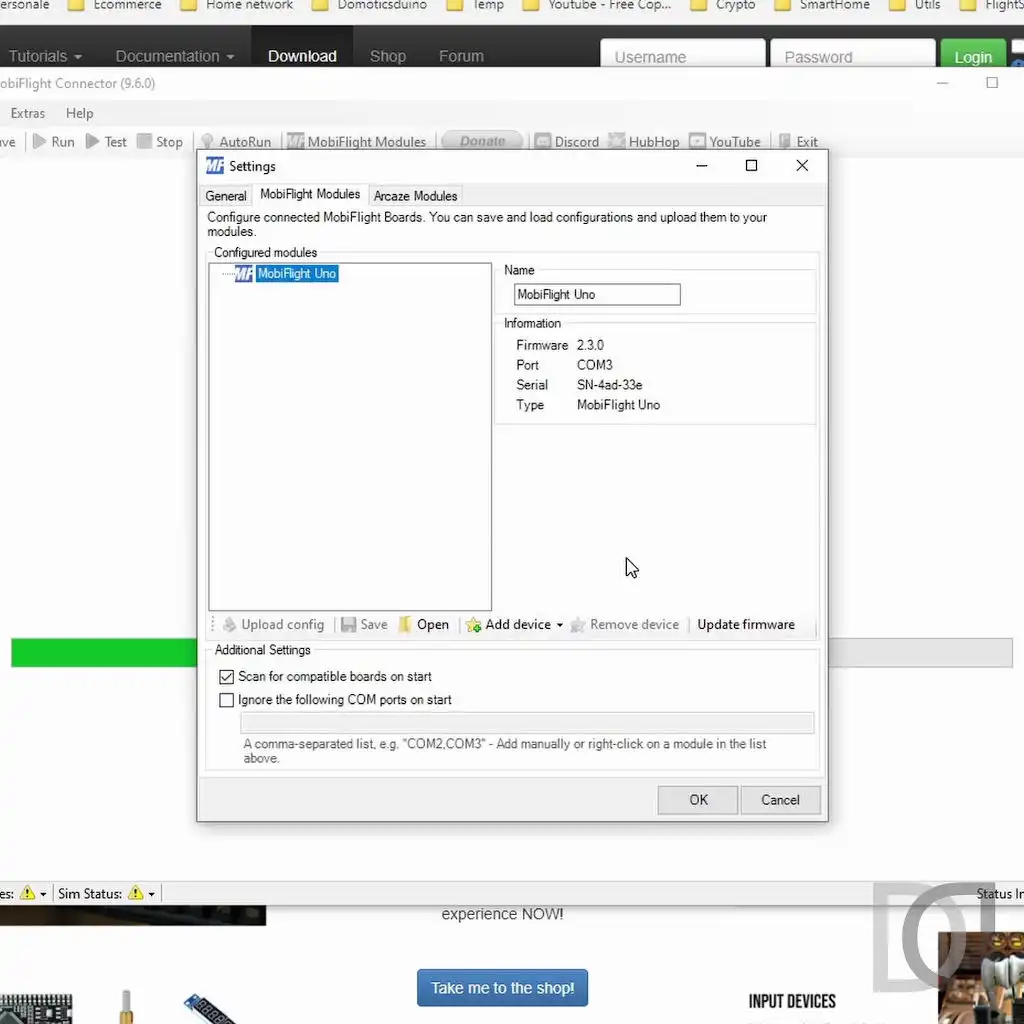
We are therefore ready for the actual configuration
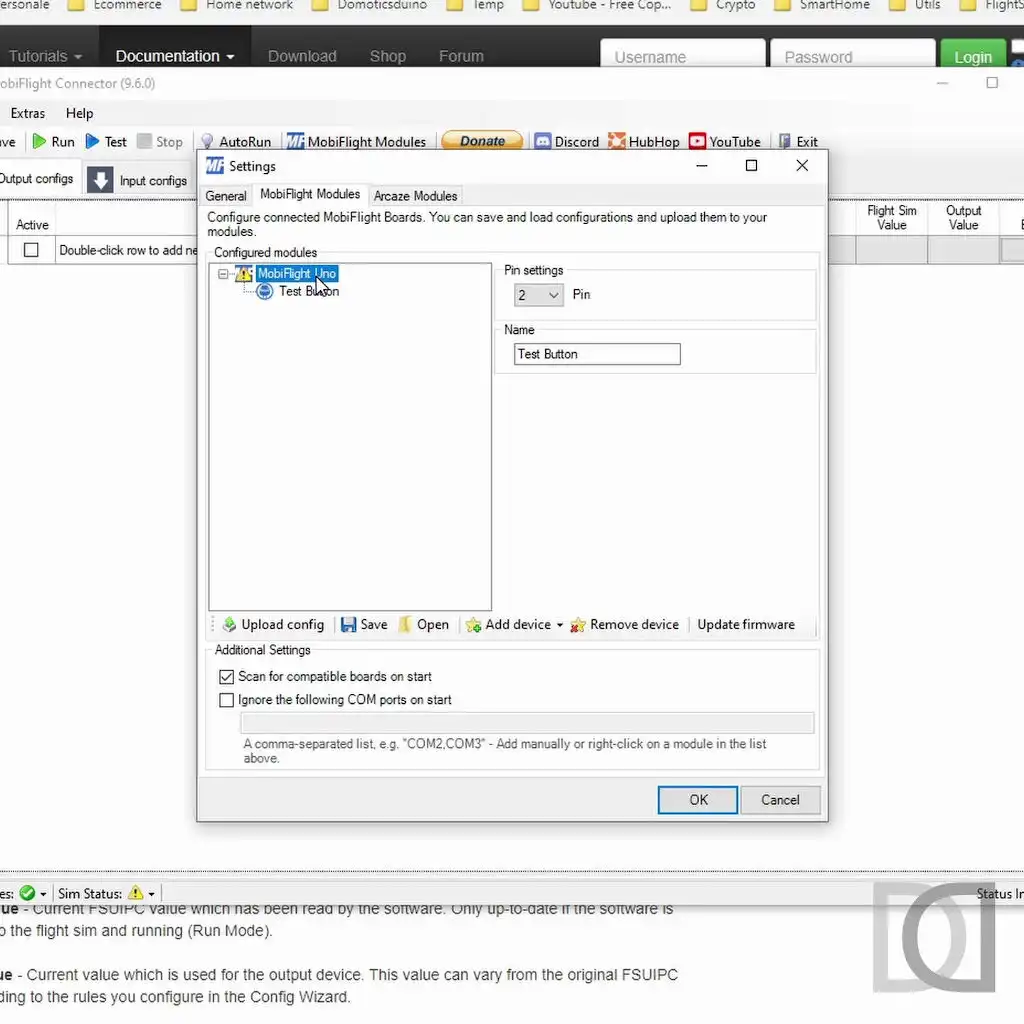
At this point, we connect our test button to an ARDUINO INPUT PIN and add it in the module configuration on MOBIFLIGHT, taking care to insert the correct pin number.
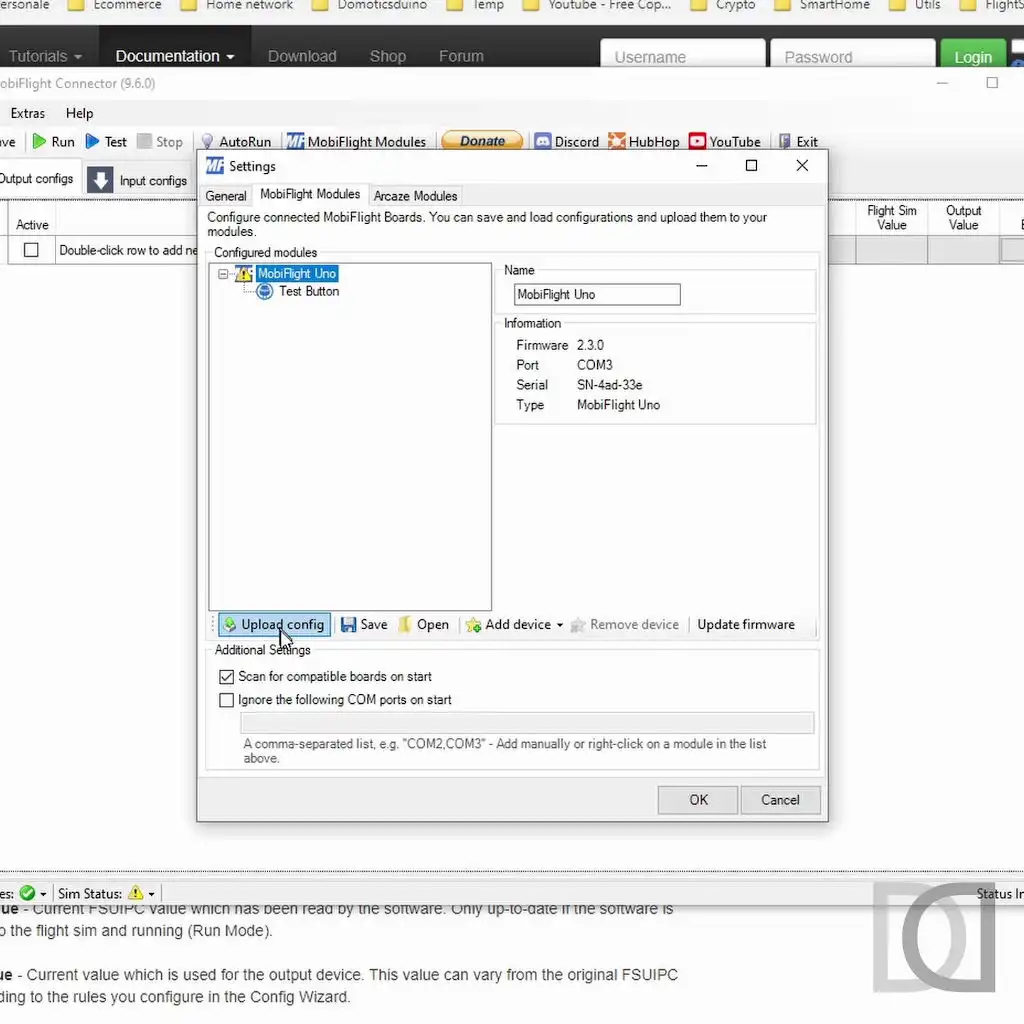
Every time you make a change to the module configuration, you must remember to update the configuration on the board, using the Upload config function.
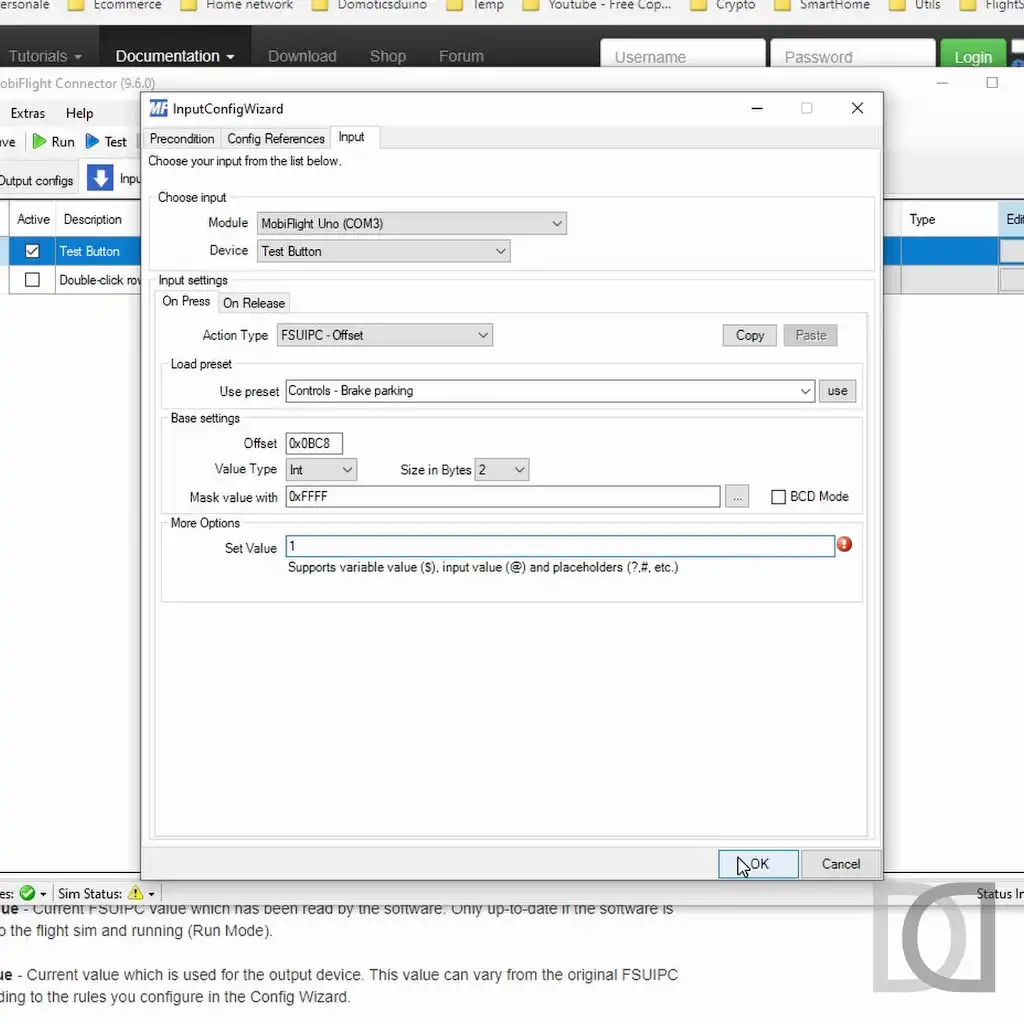
We then move on to the INPUT configuration to assign a function on the simulator to the test button created previously.
In my case, I assigned the parking brake, using FSUIPC offsets (I still use FSX).
At this point we are ready to verify the operation using the TEST function, which MOBIFLIGHT makes available to us, without the need to necessarily have the simulator turned on.
Below you will find a short video showing all the steps taken: from the first run of MOBIFLIGHT, to its configuration up to the final test, which took place successfully. The next step will be to buy an officially supported board (I'll get a compatible ARDUINO NANO), also because I need many pins to manage all the buttons and with ARDUINO UNO I wouldn't have enough.