My Learjet 45 Home Cockpit (63 posts)
12/05/2023
CUSTOM instrument panels [Versione in italiano]
by Marco Lamanna
After talking about the commercial instrumentation, let's now see the homemade panels, which complete the basic simulator instruments.
The first panel we are talking about is what I have called MAIN PANEL, i.e. the central part in front of the pilot, which develops horizontally.
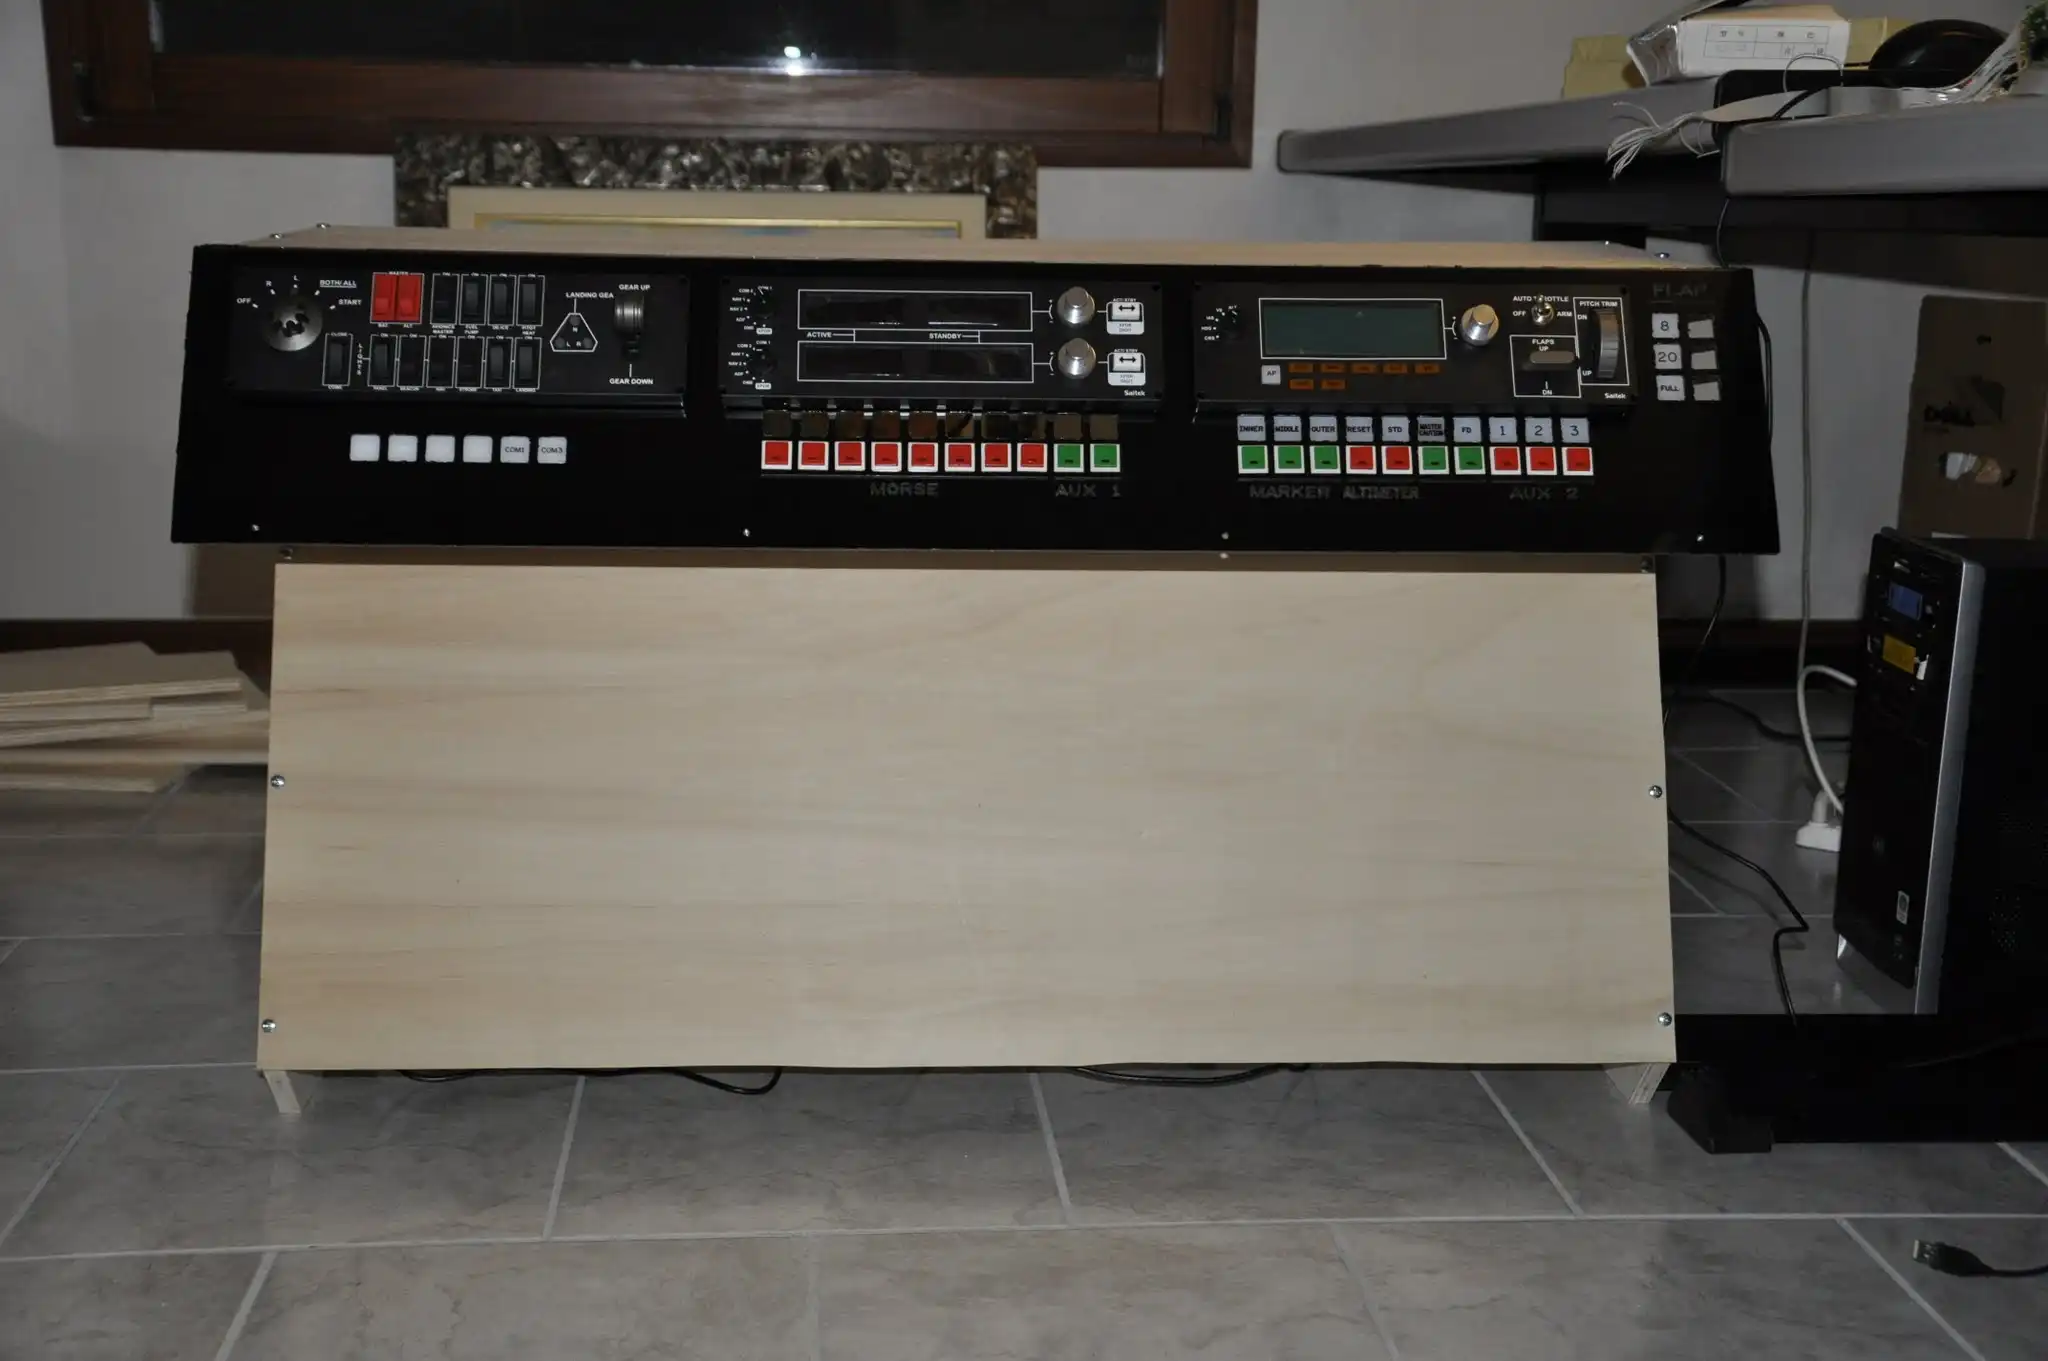
The MAIN PANEL in addition to the LOGITECH (ex SAITEK) panels, which we talked about in the previous post, contains rows of buttons and LEDs managed by software and electronic boards.
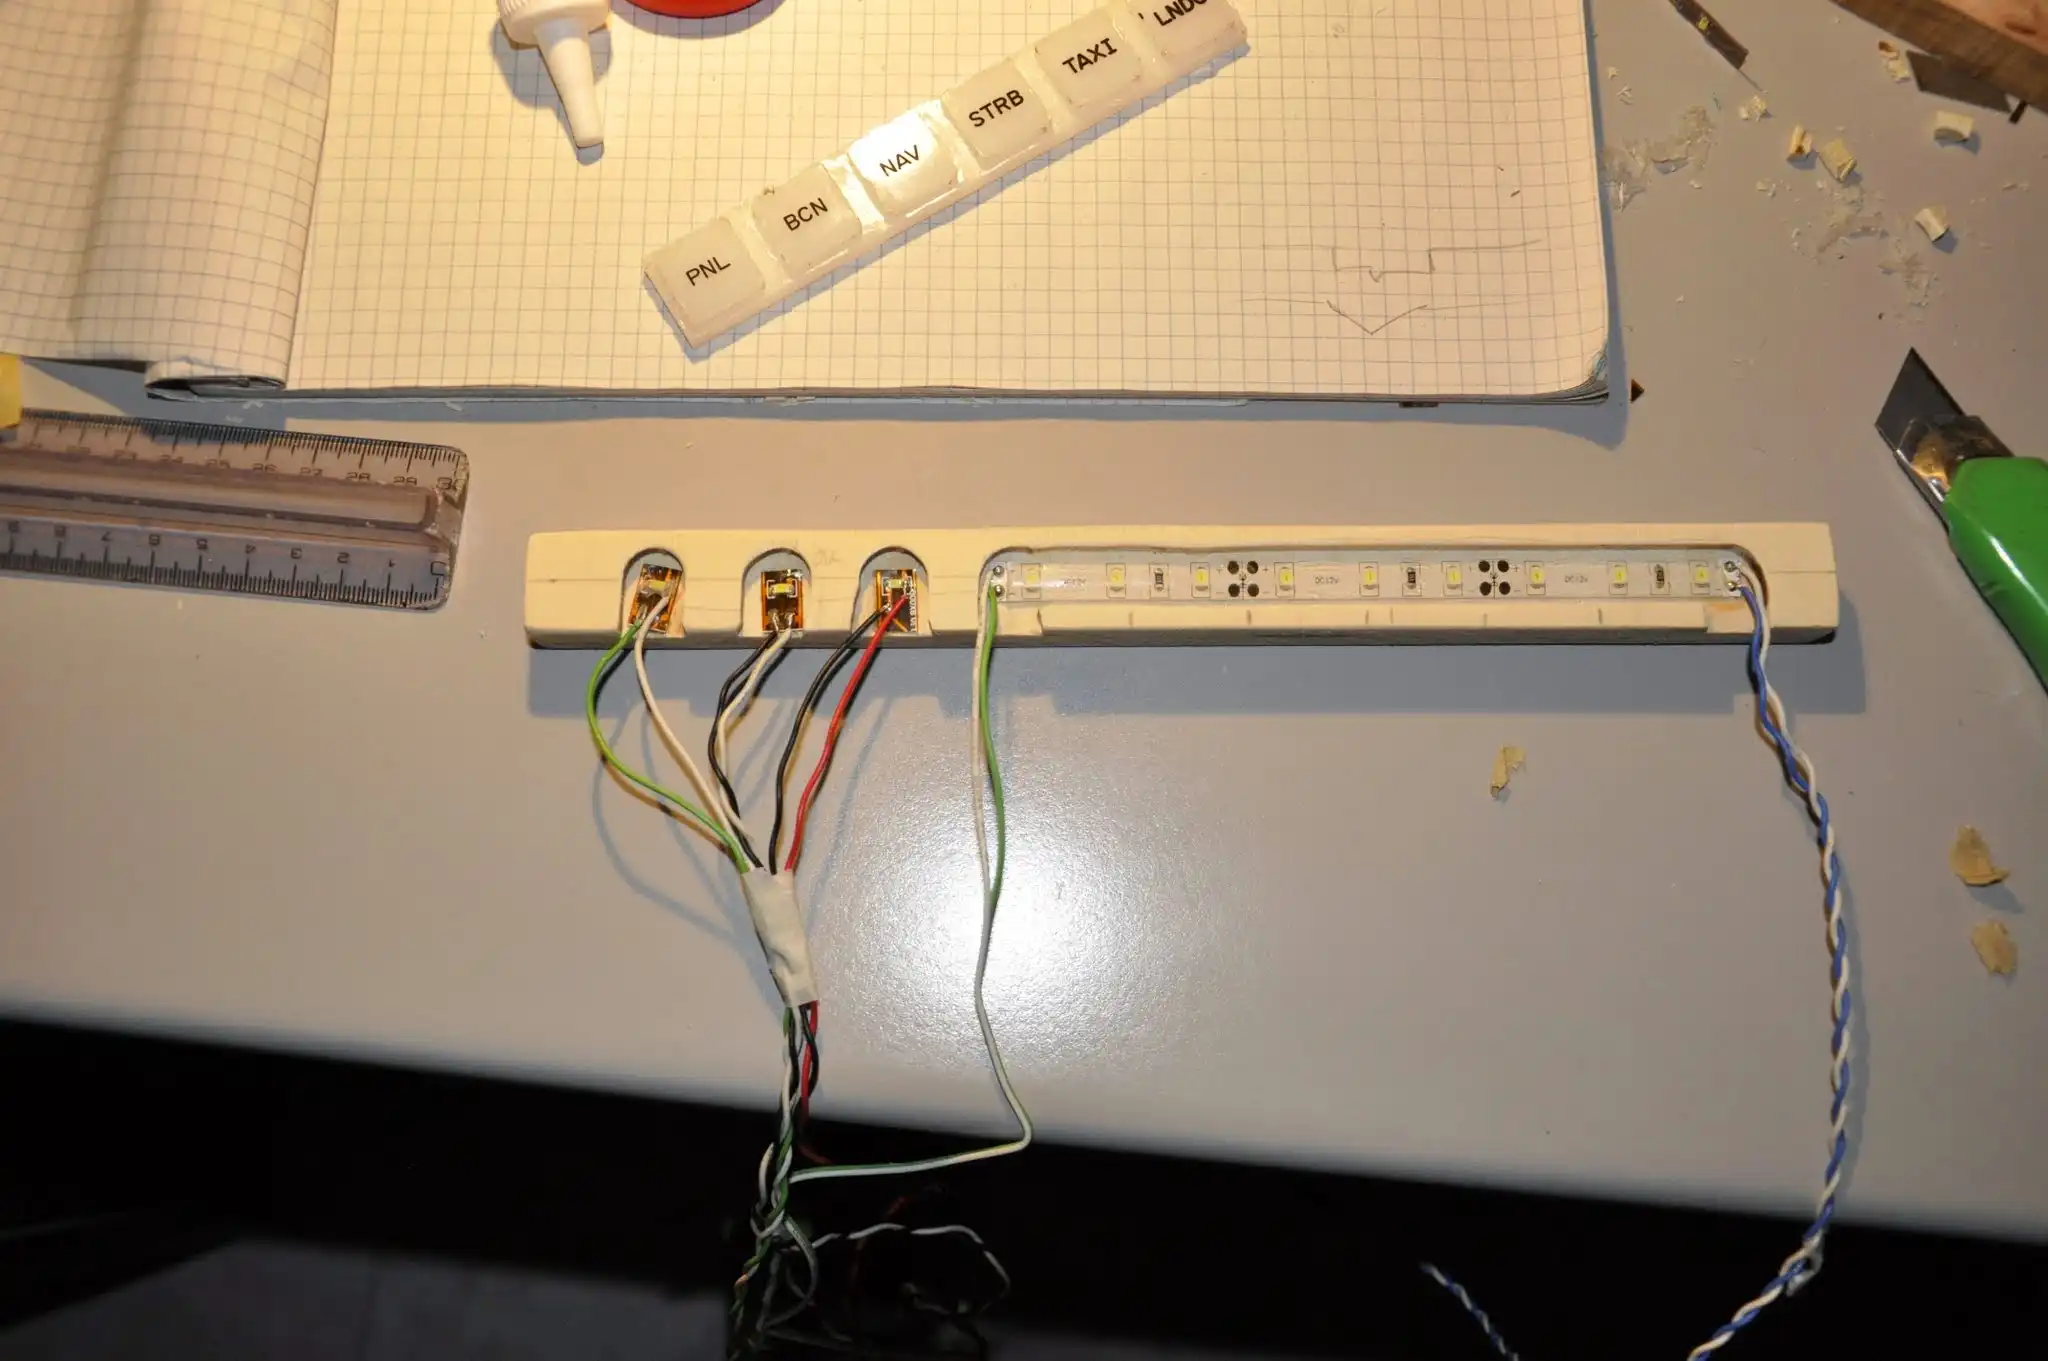
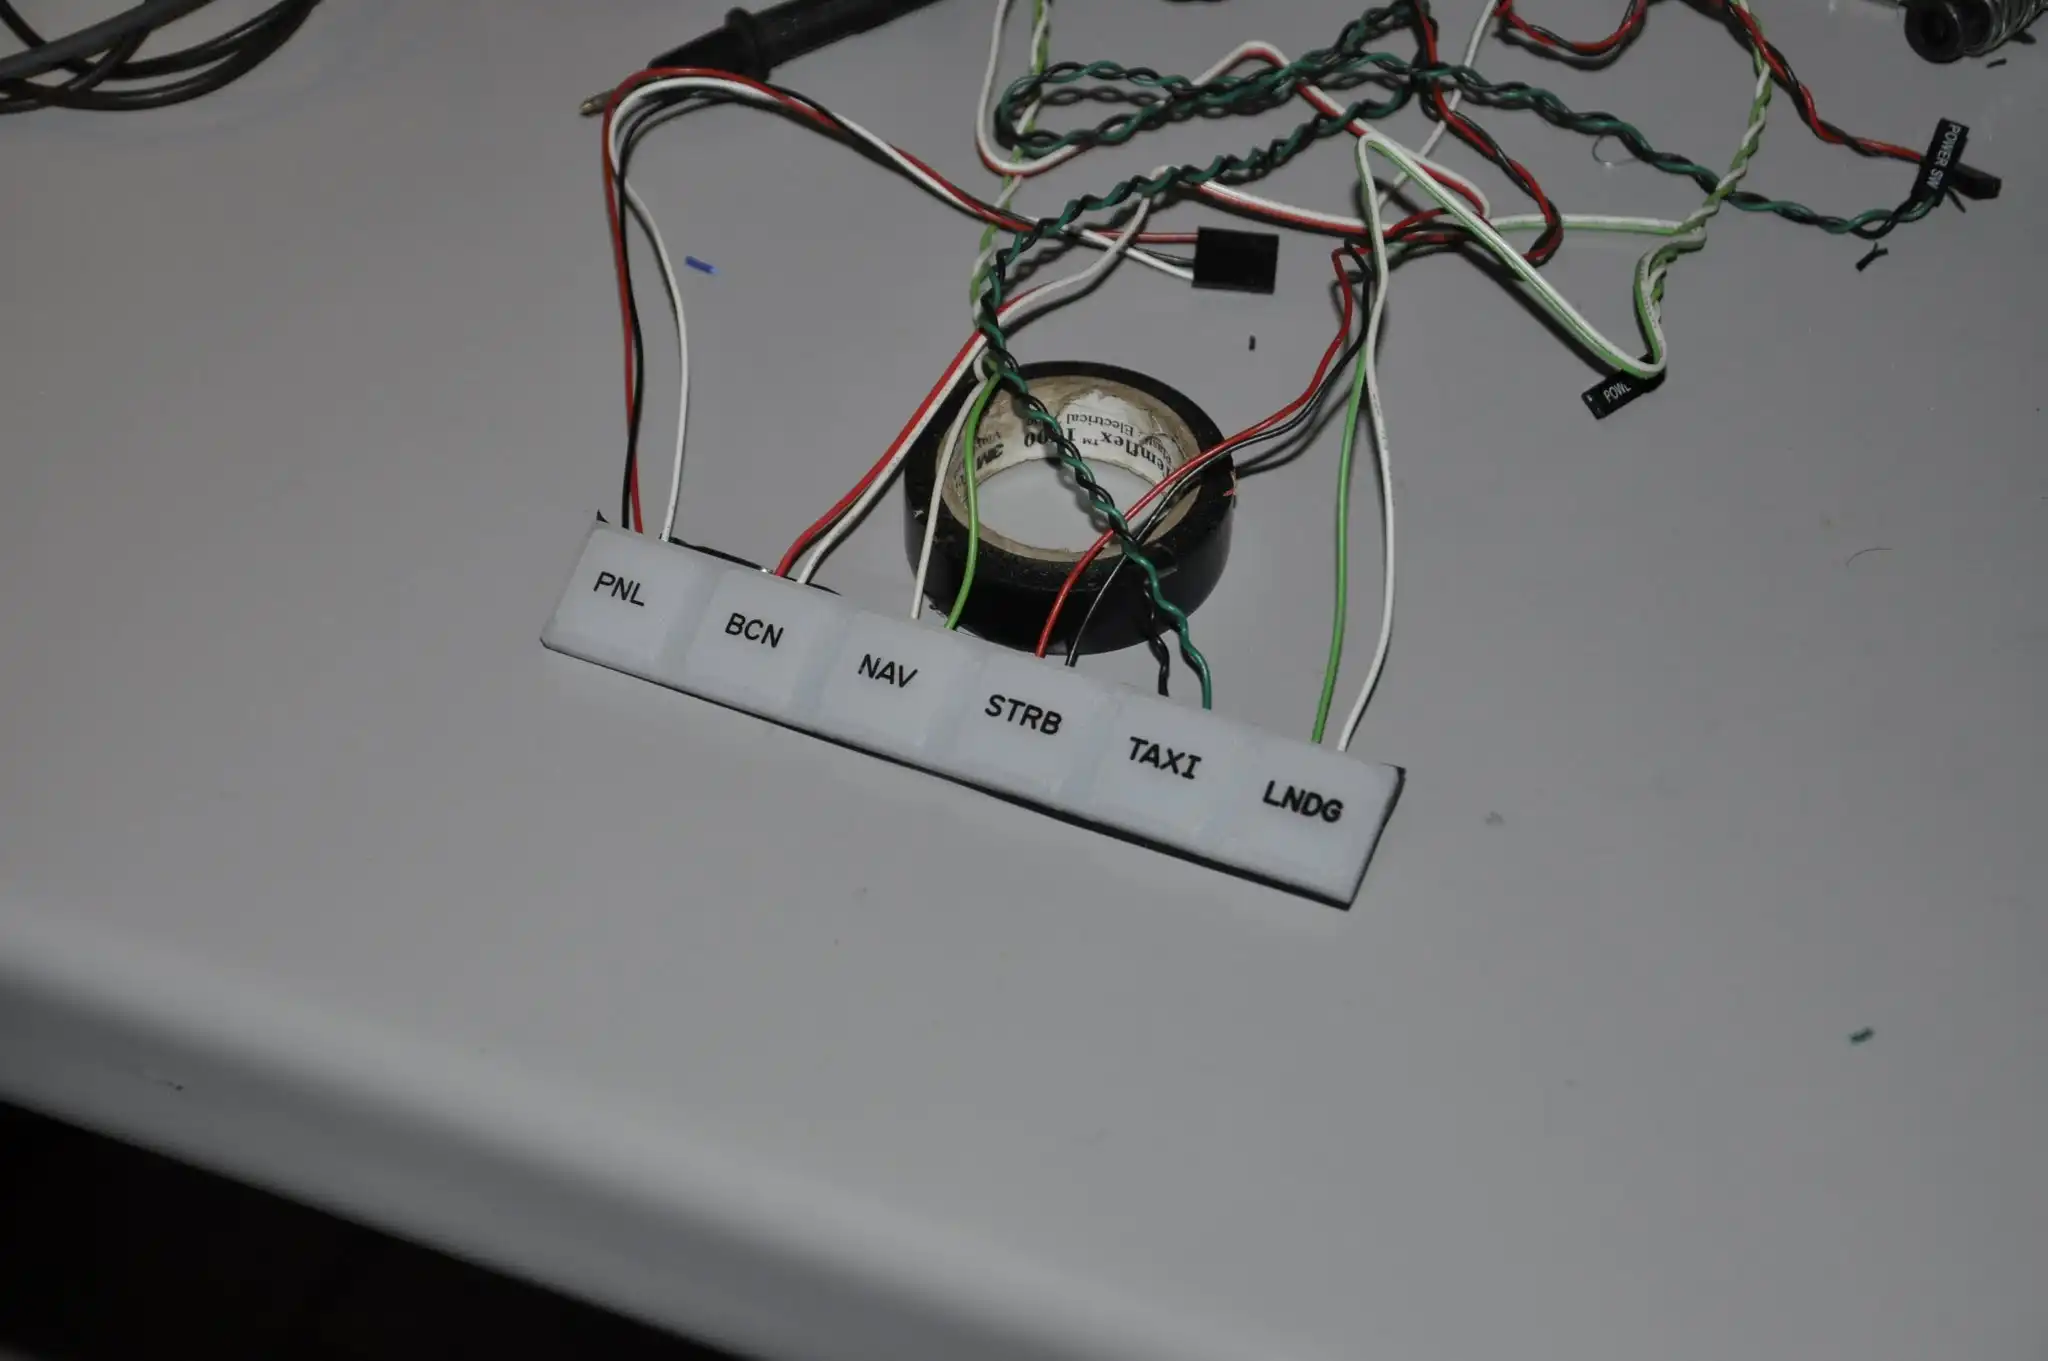
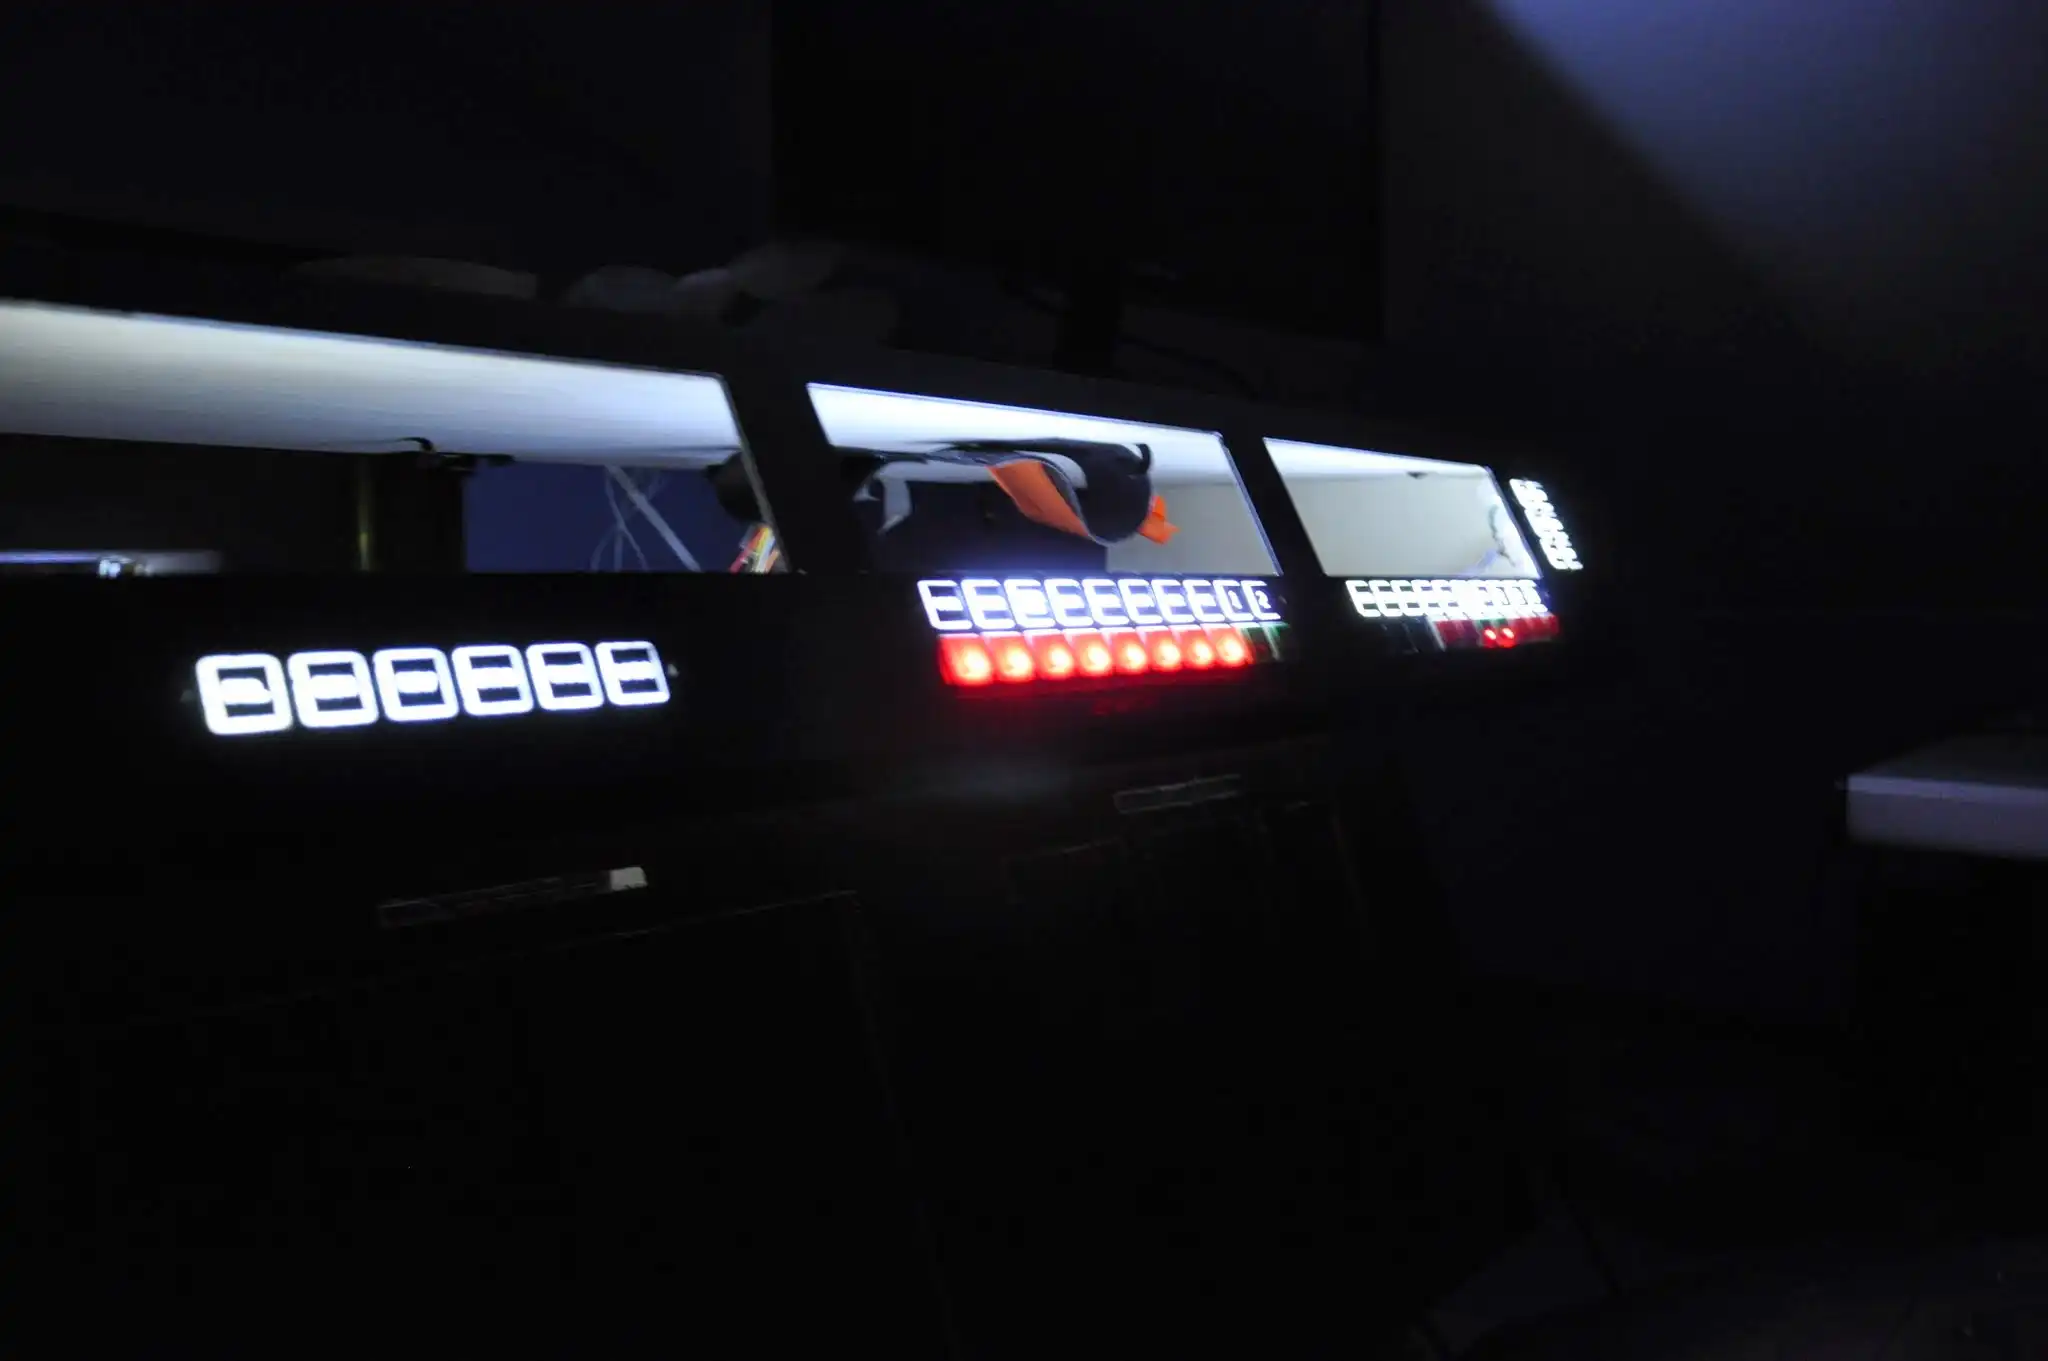
On the left we find the status indicators of the lights, which complete the flight switch panel located above which has the buttons to control the lights, but without the status LEDs.
In the central part, under the flight radio panel, we find the switches, with built-in LEDs, to manage the activation of the radios and the relative recognition morse code. Above the buttons, there is a row of LEDs which indicate the corresponding button.
On the right side, under the flight multi panel, we have some buttons with built-in LEDs for various functions, such as for example the marker indicators (inner, middle, outer), the management of the altimeter pressure setting, the master caution warning and the flight director.
On the far right we find the LEDs for the status of the flaps and the spoiler
The second home made panel is what I called CENTER PEDESTAL, i.e. a low panel positioned next to the pilot.
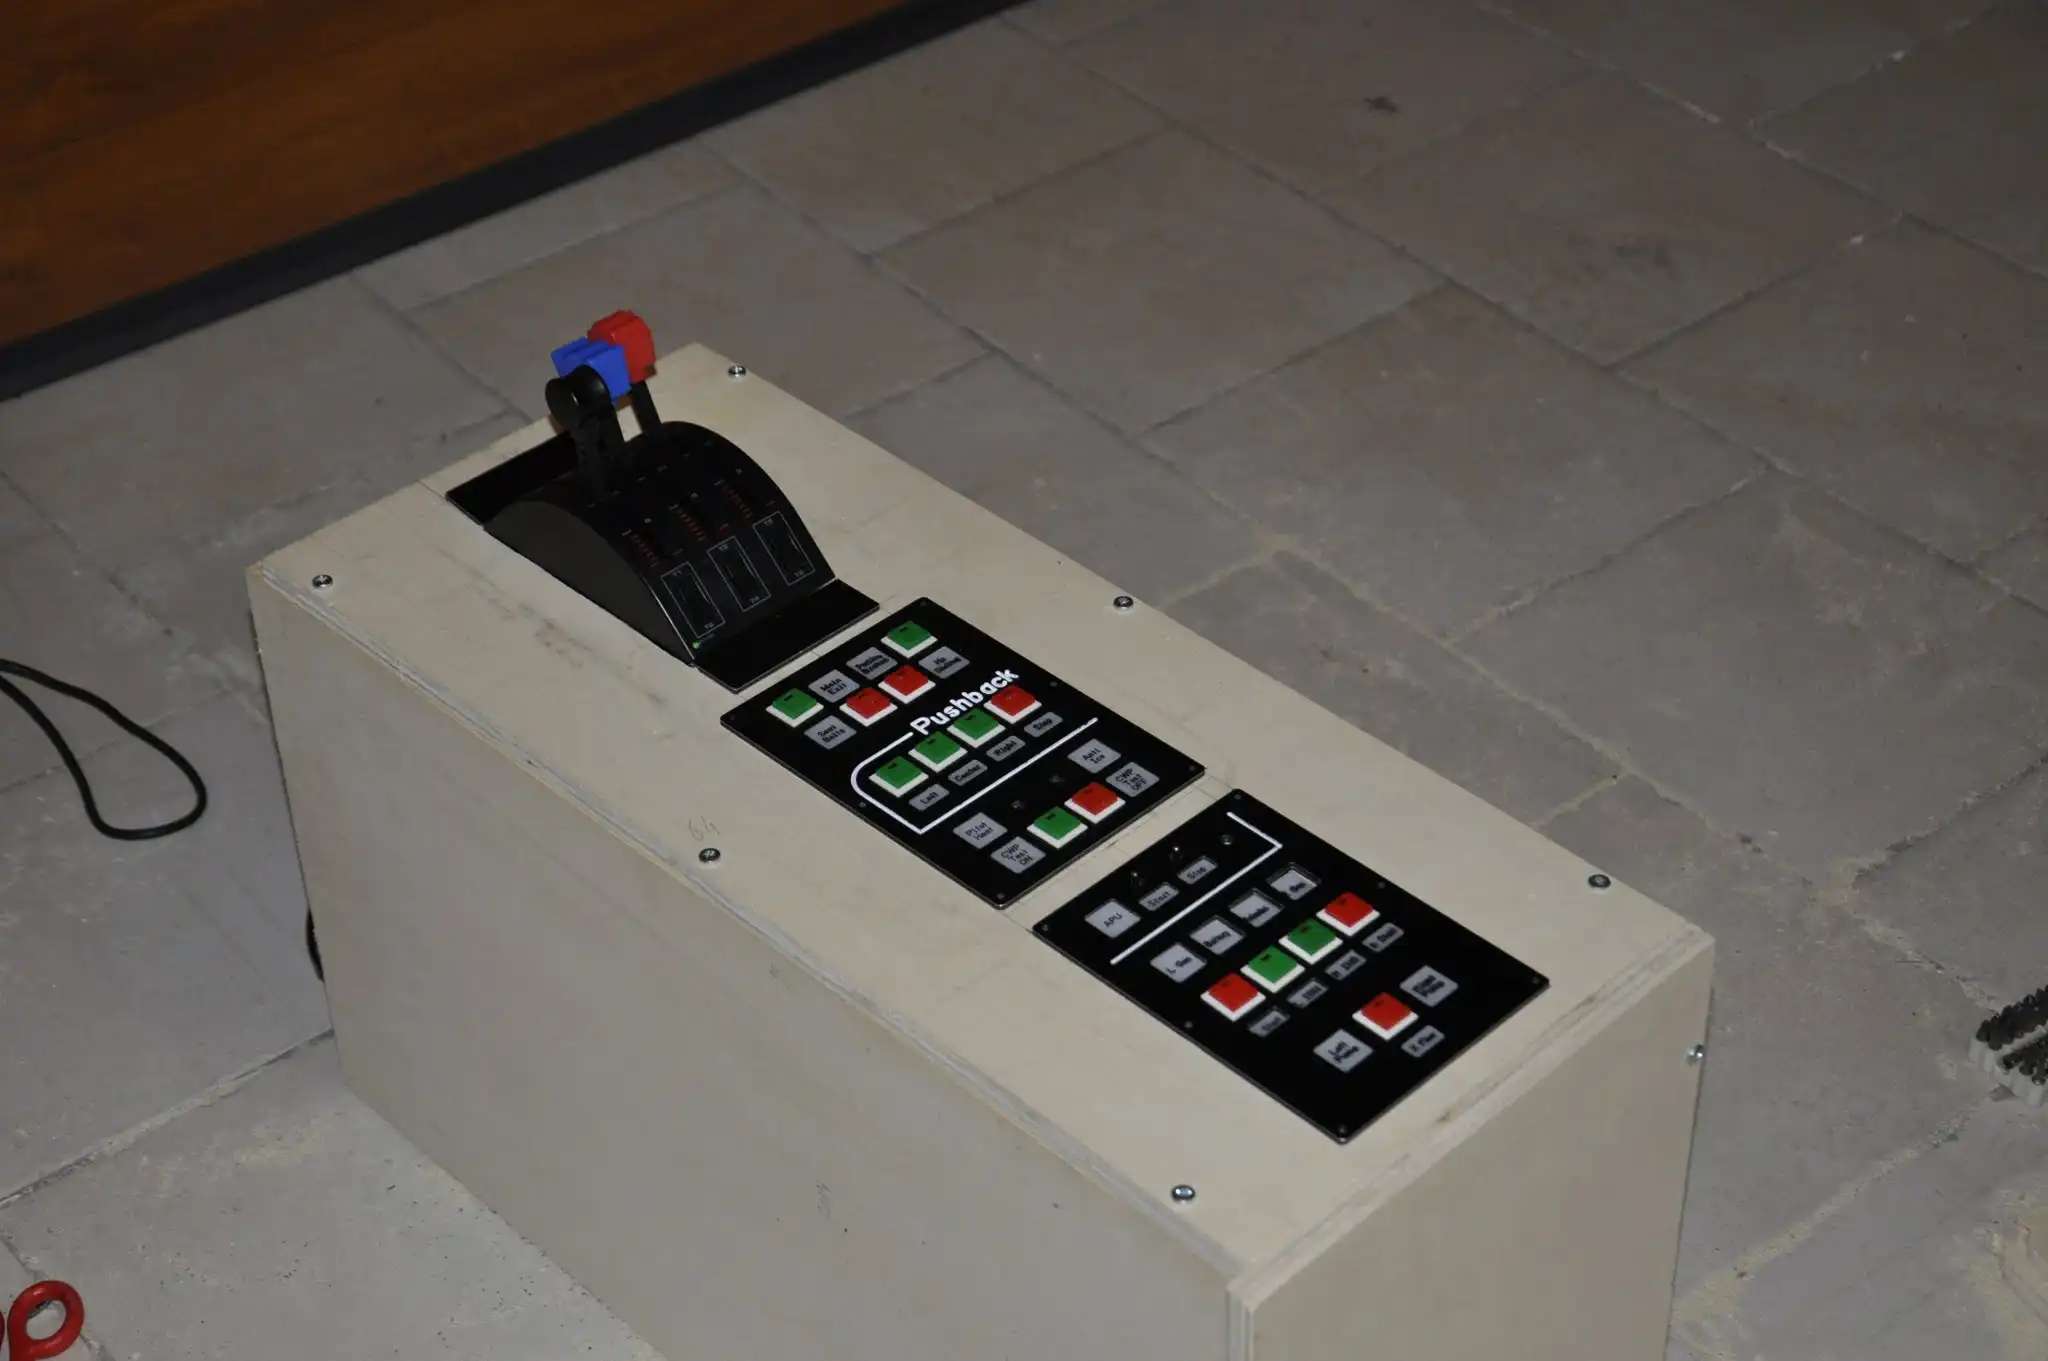
In this panel, in addition to the flight throttle system, with three levers for, respectively, the throttle, the fuel flow and the spoiler, which we talked about in the previous post, we find the GENERAL PANEL and the STARTUP PANEL, both made up of LEDs and buttons.
The GENERAL PANEL contains indicators and buttons relating to generic aircraft functions, such as pushback management, parking brake, door opening, etc etc
The STARTUP PANEL contains the functions for engine start management, such as the APU, fuel pumps, generators, etc etc
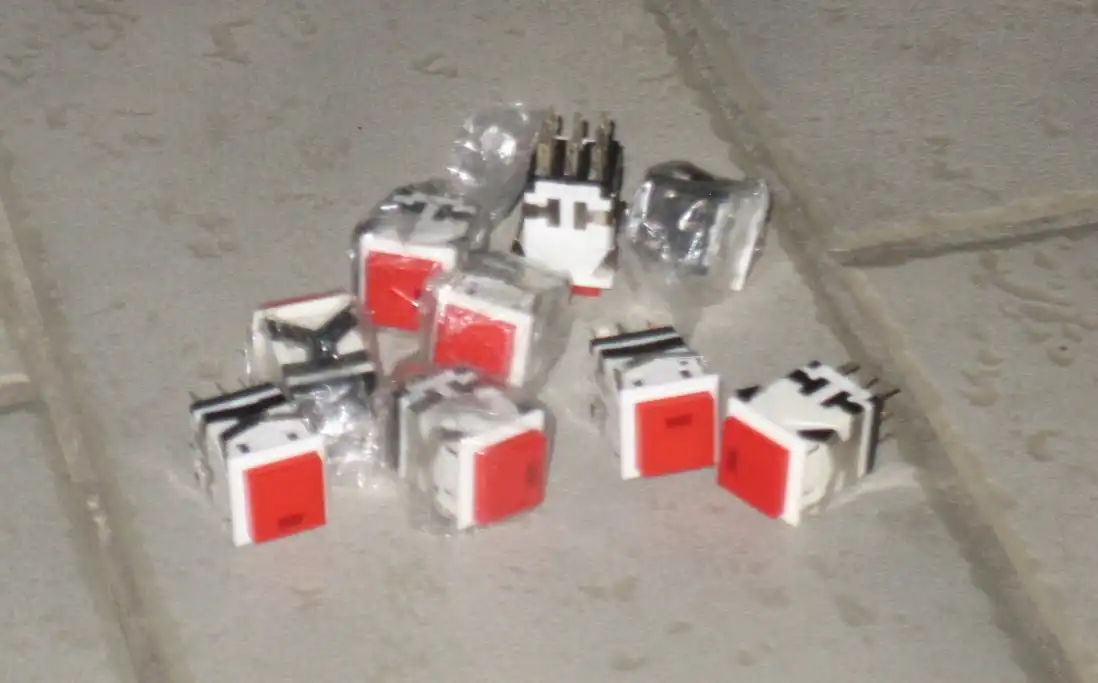
The buttons I used have the convenience of having the status LED incorporated, so they are both inputs and outputs
All buttons are connected to an Arduino Nano electronic board which interfaces with the simulator via the excellent MOBIFLIGHT software
The LEDs, on the other hand, are driven by an Opencockpits USBOutputs electronic board, which is capable, via the SIOC programming language, of activating the outputs (therefore turning on the LEDs) based on the status of the simulator.
But we will talk about this in the post dedicated to interfaces.
Single LEDs, on the other hand, are very simple pieces of LED strips glued to wooden guides that rest on a white plastic on which the labels to be displayed are printed. Also managed by the Opencockpits USBOutputs board.